Cantar Pool Products Full Moon Gebruikershandleiding en installatie-instructies - Pagina 3
Blader online of download pdf Gebruikershandleiding en installatie-instructies voor {categorie_naam} Cantar Pool Products Full Moon. Cantar Pool Products Full Moon 4 pagina's. Multi-color l.e.d. pool light

LIGHT REPAIR PARTS
3
2
1
4
Fig No.
Part No.
1
23-4921-01-R
23-4977-04-R
2
23-4911-94-R
3
47-0442-33-R
4
23-4941-07-R
23-4941-15-R
23-4942-06-R
23-4979-02-R
23-4943-05-R
23-4945-86-R
23-4978-03-R
5
14-4316-99-R
6
14-4339-99-R
7
47-0006-30-R
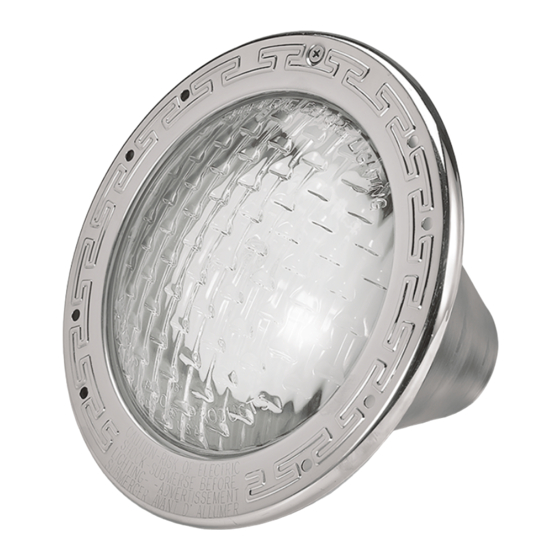
Since your new pool light contains a fragile and expensive bulb, it has been specially packaged in order to prevent damage during shipping. Please follow
these simple instructions to complete the assembly by installing the bulb, O-ring, lens and LensLok™ ring:
Step 1:
First, remove the light bulb from its small
carton and install in the light socket. When
properly installed, the loop spring will con-
tact the bulb (except on 100 watt version).
Step 4:
Insert one end of LensLok™ into groove
between glass lens and light housing.
Using your thumbs as shown, press the
LensLok™ "in and down", moving around
the light until approximately half of the
LensLok™ is engaged in the slot.
Unseated section
LensLok™
7
5
NOT AVAILABLE
AS REPAIR PART
6
Description
Lens - clear
Lens - blue
LensLok retainer ring
O-Ring
120V, 500W light bulb
120V, 400W light bulb
120V, 300W light bulb
120V, WaterColor bulb
12V, 300W light bulb
12V, 100W light bulb
12V, WaterColor bulb
Pilot screw w/ retainer
Vacuum relief screw
O-Ring
FULL MOON
Step 2:
Remove the pre-lubricated O-ring from
its bag and place inside the light hous-
ing as shown.
Light bulb
Step 5:
Holding the LensLok™ in place as
shown, push the unseated end of the
LensLok™ "in and down" until it en-
gages in the slot between the light hous-
ing and the lens. This will leave a small
portion of the LensLok™ still unseated.
Push this end into slot
Light
housing
2
1
Fig No.
1
2
3
4
5
6
ASSEMBLY INSTRUCTIONS
™
O-ring
Unseated
NICHE REPAIR PARTS
5
3
3
6
4
Part No.
Description
14-4383-03-R
Face ring screw kit
23-4927-05-R
VL face ring
13-0114-08-R
VL stamped gasket
14-4337-00-R
Backup ring screw kit
13-0115-07-R
VL channel gasket
23-4926-06-R
VL backup ring
Step 3:
Place the lens inside the O-ring in
the light housing. Be certain that the
word "top" moulded in the glass lens
aligns with the word "top" stamped
in the light housing.
Lens
Step 6:
Place the palm of your hand on the lens next
to the unseated section of the LensLok™.
Press firmly "down and away" from the un-
seated section of LensLok™ and you will hear
it "snap" into place. When properly engaged
the two ends of the LensLok™ lie flat and DO
NOT overlap.
"SNAP"
6
NOT AVAILABLE
AS REPAIR PART
Unseated
3
