DrBrowns 850T Handmatig - Pagina 3
Blader online of download pdf Handmatig voor {categorie_naam} DrBrowns 850T. DrBrowns 850T 5 pagina's. Deluxe bottle warmer
Ook voor DrBrowns 850T: Handmatig (8 pagina's)

4. A user programmable warming cycle. This appliance allows the user to
determine the appropriate heating time based on the starting temperature of
the formula and the amount of liquid and keeps that time stored in the unit's
memory. This results in a 1-button start function for quicker bottle warming.
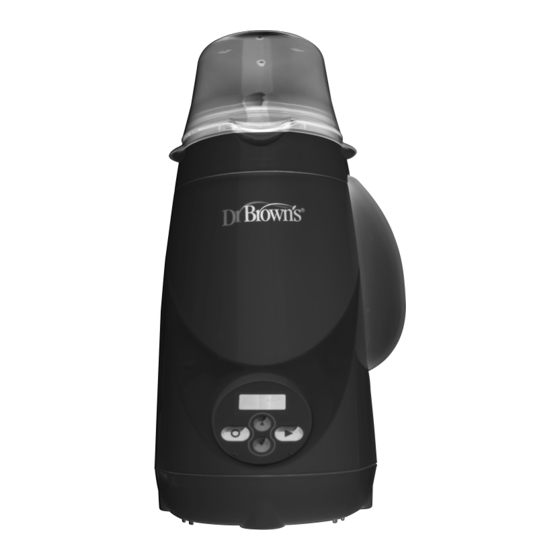
5. A 4-button digital keypad to set time and turn the appliance on/off. The "last time
programmed" is stored in memory and is displayed when the appliance is turned
on. The LCD timer counts down. There is an audible 5-beep alarm with flashing
LCD when the heating cycle is complete.
6. A backlit display for use at night.
7. Automatic power off after 8 minutes.
8. Automatic over-heating shutdown switch.
9. A polarized plug.
10. Soft feet for stability.
11. Convenient cord storage on the bottom of the unit.
12. ETL listed.
UNPACKING:
When unpacking the appliance for the first time, carefully remove and dispose of all
packing materials. Simply snap the hinged lid in place making sure the parts are fully
engaged, and you're ready to start to use. (SEE FIGURE 1)
FIGURE 1
PREPARING FOR USE:
1. Position the Dr. Brown's Natural Flow
on any convenient flat surface. Be sure to place
it and the electrical cord out of the reach of children.
NOTE: Always ensure the appliance is unplugged
when inserting the water reservoir.
2. Remove the water reservoir from the right side of the
main housing.
3. Turn the water reservoir upside down so the small fill opening
is facing up. Fill the reservoir with water through that opening.
(SEE FIGURE 2)
NOTE: Use only distilled water. Using tap water may shorten the life of the unit.
DO NOT EXCEED the recommended amount of water.
4
Deluxe Bottle Warmer
®
FIGURE 2
4. Position the short neck of the fill opening (with the
reservoir's flat side up) into the bottom of the slot on the
appliance's right side. Pivot the reservoir up to a vertical
position and snap into place. (SEE FIGURE 3) Make sure
it's held firmly in place.
5. The water reservoir will now automatically fill the heating
chamber inside the appliance to the proper level.
NOTE: The Dr. Brown's Natural Flow
convenient because you don't have to fill the reservoir every time you want to
use it. The translucent reservoir also acts as a gauge. Simply keep your eye on
the fluid level and refill the reservoir when you can no longer see water inside
the reservoir. During each refill, unplug warmer, empty heating chamber and
rinse with clean water. Do not immerse warmer base in water!
6. Insert the polarized plug into a standard 120V wall outlet.
TO PROGRAM THE CYCLE TIME:
The following times are to be used as a preliminary guide only. There are many
variables that can affect how fast this appliance warms a bottle or food container,
such as the size of the container, the exact starting temperature of the contents
and the type of liquid/food being warmed. All of these factors will impact how the
appliance heats the contents and the final temperature that is reached.
When you begin to use this appliance, you will need to make adjustments to the
length of time to achieve the most appropriate final temperature. The appliance
will keep the "last time used" in memory.* Once you determine the best time for
a specific amount of liquid, you can simply insert another bottle and press the
start button.
Note: When restarting an already warm appliance, one (1) minute is
automatically reduced from the "last time used" to prevent over heating of
bottle.
*Disconnecting the appliance from power will clear the "last time used" from memory.
FIGURE 3
Deluxe Bottle Warmer is unique and
®
5
