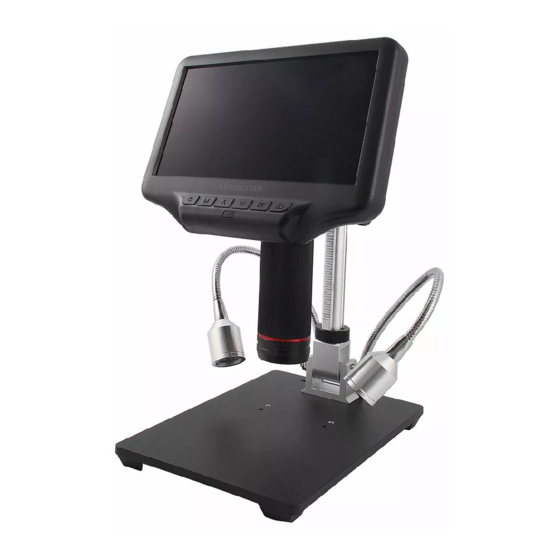
Andonstar AD407 Gebruikershandleiding - Pagina 9
Blader online of download pdf Gebruikershandleiding voor {categorie_naam} Andonstar AD407. Andonstar AD407 14 pagina's.
Ook voor Andonstar AD407: Gebruikershandleiding (11 pagina's)

(P6 connect )
Quick start
Connect
To use the microscope stand alone, you need to connect the optical stack to the power supply via the
switch cable. See the picture(P6) above.
Switch on
Then press and hold the Power button (① from the P4 "Buttons") underneath the display until the
display turns on. (It may turn on automatically while you connecting cables at the first time, and it's
totally fine.)
*Troubleshooting
If the display freezes, locate the "reset " hole on the back of the monitor. Use a narrow object such as an
unfolded paperclip to depress the button located inside. This resets all settings to their factory values and
restarts the display. It does not erase saved images or video.
Adjusting the Magnification and Focus
① Use the large knobs on the optical bracket to raise or lower the optical stack to the desired height. The
lower the height, the greater the magnification is. But be careful not to let the bottom of the stack contact
the object being imaged. (Note that you may need to reposition the spotlights as you move the stack up
or down.)Turn the Focus controller( ⑧ from the P4 "Buttons") to focus the image.
② To increase the digital magnification, press and hold the Up button (③ from the P4 "Buttons" ) until
the desired digital magnification(up to an additional 3x beyond the optical magnification) is reached.
Use the Down (number ④ from the picture "Buttons") button to decrease the digital magnification.
Using a Micro SD Card to Save Images
By using a Micro SD card (not provided), you can save images and videos to review later or export to a
computer or other device .
Insert the Micro SD card in to the TF slot on top back of the monitor. (be careful with the direction. The
side which has metal exposed, should face down. See the picture 6 )
Push it in until you hear a click. (If you don't push it in far enough, it will be ejected.)
*If you insert the card while the microscope's working, the device would switch off automatically. Press
the Power button and hold it until the screen lights up again.
The Mode button(number ② from the picture "Buttons", marked with an "M") can be used to cycle
between three modes: video standby ( ), still image ( ), and review ( ). In video standby mode, there
are white color numbers located right to the icon, shows how many time the rest storage of the card
would allow you to record video.
To record videos
10
