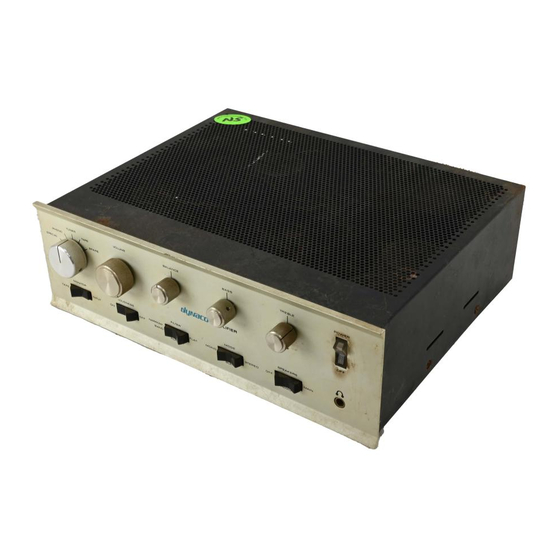
DYNACO SCA-80Q Handmatig - Pagina 7
Blader online of download pdf Handmatig voor {categorie_naam} DYNACO SCA-80Q. DYNACO SCA-80Q 12 pagina's. C9 replacement
Ook voor DYNACO SCA-80Q: Montagehandleiding (15 pagina's)

Installing the New C9 into the Amplifier
1. Install the clamp, capacitor, harness assembly into the amplifier. Use the keps
nuts with the built in lockwashers (the 3 old nuts and lockwashers aren't used).
2. Orient the new assembly as shown in Figure 5.
Figure 5-Note the orientation of the capacitor assembly when installed into the amplifier
3. Reconnect the three positive wires as shown in Figure 6:
a. Wire 1 - the red wire from PC-19 terminal 2 to the positive harness
terminal where the two red-wires come together.
b. Wire 2 – the red wire from the right amplifier channel to one end of the
positive harness
Figure 6-Reconnecting the wires to the new C9
Page 7 of 12
