DYNACO Stereo 120 Handmatig - Pagina 3
Blader online of download pdf Handmatig voor {categorie_naam} DYNACO Stereo 120. DYNACO Stereo 120 10 pagina's. Installing the really big heatsink for the power supply

Section 1: About this Manual
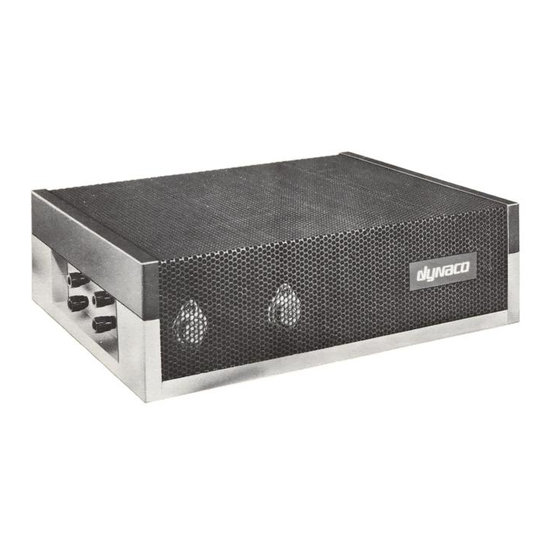
This manual gives you the information you need to replace the original power supply
heatsink in a Dynaco Stereo 120 Solid State Power Amplifier with the Really Big Heat
Sink. This kit allows your Stereo 120 to deliver more power, particularly at low
frequencies, while running cooler.
Who Should Attempt this Project?
You can rebuild your Dynaco Stereo 120 if you can:
1. solder (using normal rosin core solder and a soldering iron).
2. use simple hand tools like screwdrivers, wire cutters, and pliers.
3. read and follow directions.
It helps if you:
1. know a bit about electronics, or
2. have a friend who knows a bit about electronics
3. can get to YouTube to watch videos about the assembly process (not yet
available)
Tools You'll Need
You'll need the following tools to update your Stereo 120:
1. flat blade screwdriver for #6 screws
2. Phillips screwdriver (#2)
3. pliers or nut drivers suitable for #6 hardware (5/16" nut driver or hex wrench)
4. needle nose pliers (helpful, but not strictly necessary)
5. pencil type soldering iron of 25 to 50 Watts (no huge honking soldering guns or
blowtorches)
6. wire cutters and strippers
7. multi-meter (strongly recommended to cross-check resistor values against color
codes)
8. magnifying glass, to verify identification codes on small components
Project Overview
The project consists of the following steps:
Remove the stock heat sink and PSUG power supply combination from the amp
Change 3 components on the PSUG to
o increase the DC power that the power supply delivers from 3 amps to 3.5
amps
o increase the transient power that the power supply delivers
Mount the upgraded PSUG to the Really Big Heat Sink
Add one 9/64" hole to the chassis.
Install the combination of PSUG and Really Big Heat Sink into the amplifier
Page 3 of 10
