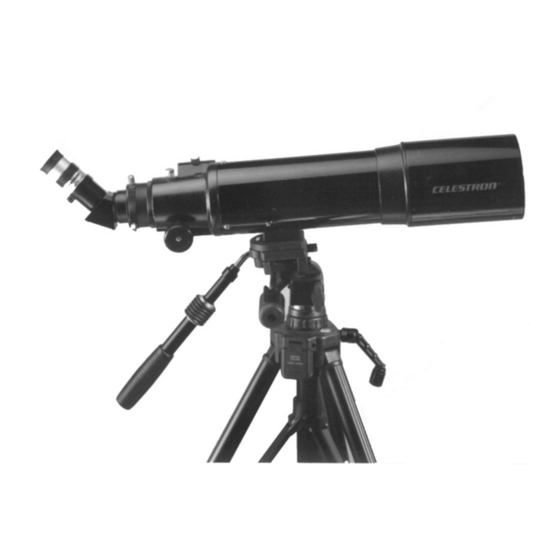
Celestron StarSeeker 80mm Gebruiksaanwijzing - Pagina 4
Blader online of download pdf Gebruiksaanwijzing voor {categorie_naam} Celestron StarSeeker 80mm. Celestron StarSeeker 80mm 15 pagina's. F80 eq wa 80mm (3.1”) refractor telescope
Ook voor Celestron StarSeeker 80mm: Gebruiksaanwijzing (17 pagina's)

1. INTRODUCTION
Thank you for purchasing this Celestron 80mm Refractor Equatorial Telescope. This telescope is a precision
scientific instrument. With it you will enjoy numerous objects in the sky—planets, nebulae, star clusters,
galaxies and other astronomical objects.
But, before your journey begins take time to read this manual to familiarize yourself with the operation and parts
of this telescope.
WARNING—NEVER LOOK AT THE SUN WITH YOUR TELESCOPE OR ITS FINDERSCOPE.
PERMANENT AND IRREVERSIBLE EYE DAMAGE MAY RESULT AS WELL AS DAMAGE TO
YOUR TELESCOPE.
HOWEVER, YOU MAY ENJOY LOOKING AT THE SUN IF YOU HAVE A SAFE METHOD
OF DOING SO—A SOLAR FILTER. IF USING A SOLAR FILTER, MAKE SURE THE
FINDERSCOPE IS COVERED.
2. TELESCOPE ASSEMBLY
Please refer to figures 1 and 2 (and the identifying parts list) as you assemble the telescope.
The telescope and all items are packed in one box. Included are:
Telescope Optical Tube
German Equatorial Mount
Adjustable Wood Tripod
Counterweight Shaft and Counterweight
Tripod Accessory Tray
Declination Cable
Right Ascension Cable
25mm SMA Eyepiece - 1¼" (16x)
Diagonal - 1¼"
Finderscope, 6x30
A. Locate the German equatorial mount and the tripod legs along with the tripod mounting hardware and the
tripod accessory tray.
1.
Lie the tripod head (#7) on its side. Attach the three tripod legs (#12) one by one to the tripod head
with the bolts and wing nuts (#17). Do not over tighten the bolts but just make them lightly finger tight.
Remember to have each tripod leg in the right orientation with the tripod tray bracket (#11) facing
inward.
2.
Next, put the bolts and wing nuts in the bottom of the tripod legs through the holes for the height
adjustment you want. We suggest you keep it at the lowest height for assembly (you can raise it later if
you wish) and for maximum rigidity. NOTE—this may have been assembled at the factory.
3.
Now set the tripod with the equatorial mount attached in the standing position by spreading the legs
apart far enough for the tripod accessory tray (#11) to fit.
4.
You are now ready to install the tripod accessory tray (#11). The tripod tray bracket fits into slots in the
bottom of the tray (use the holes on the ends of the brackets). Use the bolts and wing nuts to attach
each bracket to the tray.
6
