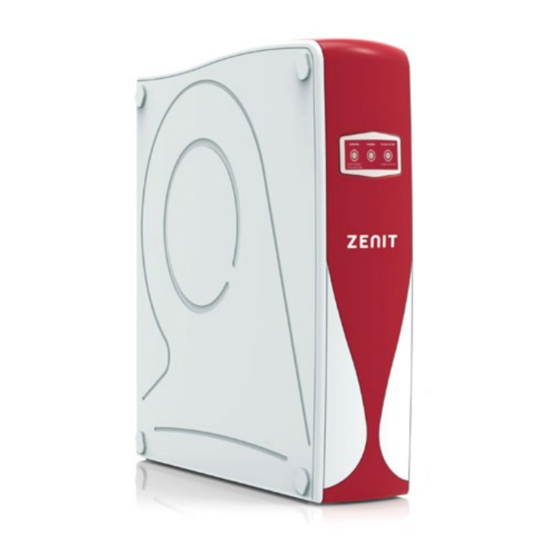
Hidro-Water ZENIT Gebruikers- en installatiehandleiding - Pagina 8
Blader online of download pdf Gebruikers- en installatiehandleiding voor {categorie_naam} Hidro-Water ZENIT. Hidro-Water ZENIT 15 pagina's. Residential reverse osmosis

*The life of the filters and membranes will vary depending on the quality of the
water supply, the usage and the amount of impurities it has.
**The duration of the membranes will be approximately 2 – 3 years given that mains
wa-ter's salinity is equal to or inferior to 1.000 ppm and the hardness is between 0 – 15ºF. If
the water supply's characteristics, if applicable, are different, then the conditions regard-
ing the replacement of the membranes will change.
Replace the cartridges in the given period to ensure the life of the membranes and
the quality of the water obtained.
7.1.- Procedure for replacing cartridges and the membranes.
a. Close the ball valve of the feed adapter (Figure-9) and unplug the system from the
electricity supply.
b. Open the faucet (Figure-3) to relieve the pressure from inside the osmosis system.
c. To change the carbon GAC (1st stage) and carbon CTO (2nd stage) cartridges, take
off the right-hand-side cover of the ZENIT osmosis system (looking the system
from the front) as indicated in point 4.4 of this manual.
d. Once you have taken off the cover, remove the cartridges from their clamps,
disconnect the tube from the elbows at the entrance and exit of the cartridge. To
do so, you must remove the corresponding security clips. Then remove the car-
tridge from its clamps and unscrew the elbows on the cartridge. This process must
be carried out for each of the cartridges you want to change.
e. Remove the new cartridge from its original packaging; remove the protection
plugs at each end. Apply sufficient Teflon tape to the threads of the elbow pieces
that we took off the used cartridge. Pay attention to the arrow on the cartridge
which indicate the water flow. Make sure the cartridge is installed in the correct way
because otherwise the water won't flow correctly. Once you have made sure, screw
on the elbows pieces of the cartridge. Place the cartridge on the corresponding
clamps, insert the ⅜" tube in the elbow pieces fully and replace the ⅜" security
clips we took off previously. Each cartridge must be put in its corresponding
position bearing in mind the order. This process must be carried out for each of the
cartridges you want to change.
14
MA-ES-RO-ZENIT_RO-0236-02_FL_20_V02
f.
To change the membranes (3rd & 4th stage) follow the process as described in
point 4.4 of this manual having previously removed the used membranes with the
help of an adjustable wrench.
g. To change the postfilter (5th stage), take off the right-hand-side cover of the ZENIT
osmosis system (looking the system from the front) as indicated in point 4.4 of this
manual.
h. Once you have taken off the cover, remove the postfilter from their clamps,
disconnect the tube from the inlet elbow at the entrance and the stem elbow at
the exit of the cartridge postfilter. To do so, you must remove the corresponding
security clips. Finally unscrew the elbows on the postfilter.
i.
Remove the postfilter from its original packaging. Remove the protection plugs
at each end. Apply sufficient Teflon tape to the threads of the elbow pieces that
we took off the used cartridge. Pay attention to the arrow on the cartridge which
indicate the water flow. Make sure the cartridge is installed in the correct way
because otherwise the water won't flow correctly. Once you have made sure, screw
on the corresponding elbows pieces to the cartridge (the inlet elbow is for ¼" tube
and the output elbow is for ⅜" tube). Place the cartridge on the corre-sponding
clamps, insert the tube in the inlet elbow and the ⅜" stem elbow in the output,
insert it fully and replace the security clips we took off previously.
MA-ES-RO-ZENIT_RO-0236-02_FL_20_V02
15
