Galax Pro 766V-L Gebruiksaanwijzing & veiligheidsinstructies - Pagina 9
Blader online of download pdf Gebruiksaanwijzing & veiligheidsinstructies voor {categorie_naam} Galax Pro 766V-L. Galax Pro 766V-L 15 pagina's. Mini
8.Assembly
WARNING: Before any work on the machine itself, keep the mains plug out of
the
supply.
To avoid accidental starting, make sure Lock-Off button is not engaged prior to
plugging in tool and you finger is not touching the on/off switch trigger.
Mounting/Replacing the Saw Blade
For changing the cutting tool, it is best to place the machine on the face side of the
motor housing.
Removal of the Saw Blade
– Press the
lock button (19)
The The spindle
is at a standstill. Otherwise, the power tool can be damaged.
–With the
allen wrench
– Tilt back the retracting
– Remove the
clamping flange (13)
Mounting the Saw Blade
– Clean the
saw blade (1)
– Tilt back the retracting
– Place the
saw blade (1)
teeth (direction or arrow on saw blade) and the direction-of-rotation arrow on the
guard (2) must correspond.
blade
– Mount the blot &
– Press the
spindle lock button (19)
– With the
allen wrench
in rotation direction.
Install the Rip Guide
To install the rip guide on the machine, perform the following steps.
•Unplug your circular saw.
•Insert the
rip guide (7)
the saw, starting with slot in the left side edge of the base.
•Slide the
left guide (7)
plate(3).
•Adjust the rip guide for the desired width of cut and then securely tighten the rip
guide
locking screw
Install the Vacuum Adaptor Hose (Fig7)
and keep it pressed.
lock button (19)
(9), unscrew
blade guard (2)
and all clamping parts to be assembled.
blade guard (2)
on to the
screw (13)
in turning in rotation direction.
(9), tighten the
through all three slots on the
through the slots until it extends out the right side of the
(12).
Owner's Manual & Safety Instructions
may be actuated only when the saw spindle
the bolt (13)
turning in rotation direction.
and hold firmly.
and the
saw blade (1)
and hold firmly.
mounting bolt
(13). The cutting direction of the
and keep it pressed.
clamping bolt (13)
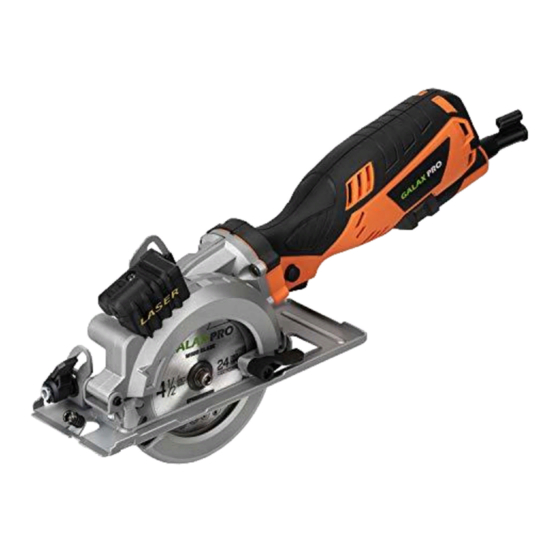
Mini Circular Saw
from the machine.
turning
base plate (3)
at the front of
base