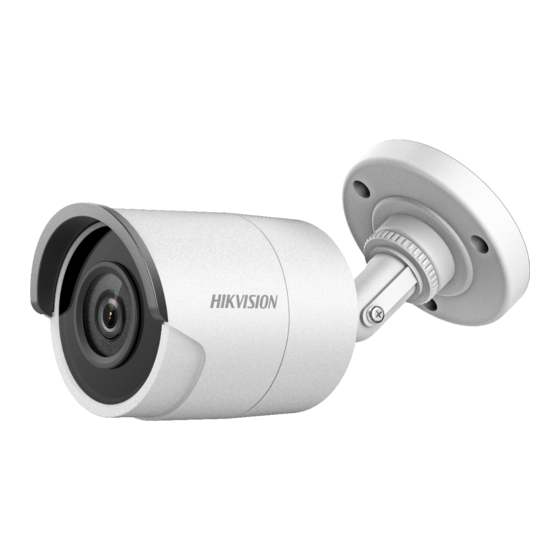
HIKVISION DS-2CE18U8T-IT3 Gebruikershandleiding - Pagina 7
Blader online of download pdf Gebruikershandleiding voor {categorie_naam} HIKVISION DS-2CE18U8T-IT3. HIKVISION DS-2CE18U8T-IT3 14 pagina's. Turbohd 4k series bullet camera
Ook voor HIKVISION DS-2CE18U8T-IT3: Gebruikershandleiding (16 pagina's), Snelstarthandleiding (17 pagina's)

7. Route the cables through the bottom cable hole
(optional), or the side cable hole of the junction
box.
8. Combine the junction box cover with its body.
9. Repeat the step 5 and 6 of 2.1.1 Ceiling/Wall
Mounting without Junction Box to complete the
installation.
2.2 Installation of Type II Camera
2.2.1 Ceiling/Wall Mounting without Junction Box
Steps:
1. Paste the drill template (supplied) to the place
where you want to install the camera.
2. Drill the screw holes according to the drill template,
and the cable hole (optional) on the ceiling/wall.
Note:
Drill the cable hole in the center of the drill template,
when adopting ceiling outlet to route the cable.
3. Route the cables through the cable hole (optional)
or the side opening.
4. Fix the camera to the ceiling with supplied screws.
Figure 2-6 Fix the Junction Box to the
Figure 2-7 Fix the Junction Box Cover back
Figure 2-8 Drill Template
Wall/Ceiling
to its Body
