CORNING EDC-02P-NH Handmatig - Pagina 5
Blader online of download pdf Handmatig voor {categorie_naam} CORNING EDC-02P-NH. CORNING EDC-02P-NH 7 pagina's. Environmental distribution center
Ook voor CORNING EDC-02P-NH: Handmatig (12 pagina's)
Step 3:
temporarily reinstall splice tray holder for eDC-06/12p-NH. For all housings, mount
one splice tray in their appropriate location.
Step 4:
mark the buffer tube(s) and pigtail(s) ¾ inch from where they will enter the splice tray
(eDC-02p-NH shown).
Step 5:
Unwind buffer tube(s) and pigtail(s) from the radius guides and bring them as pairs to
a convenient splicing location.
Step 6:
Access the buffer tube(s) and pigtail(s) to the mark and secure with cable ties to the
splice tray.
•
Follow instructions included in the splice tray for routing.
Step 7:
Once splicing is complete follow the guidelines below:
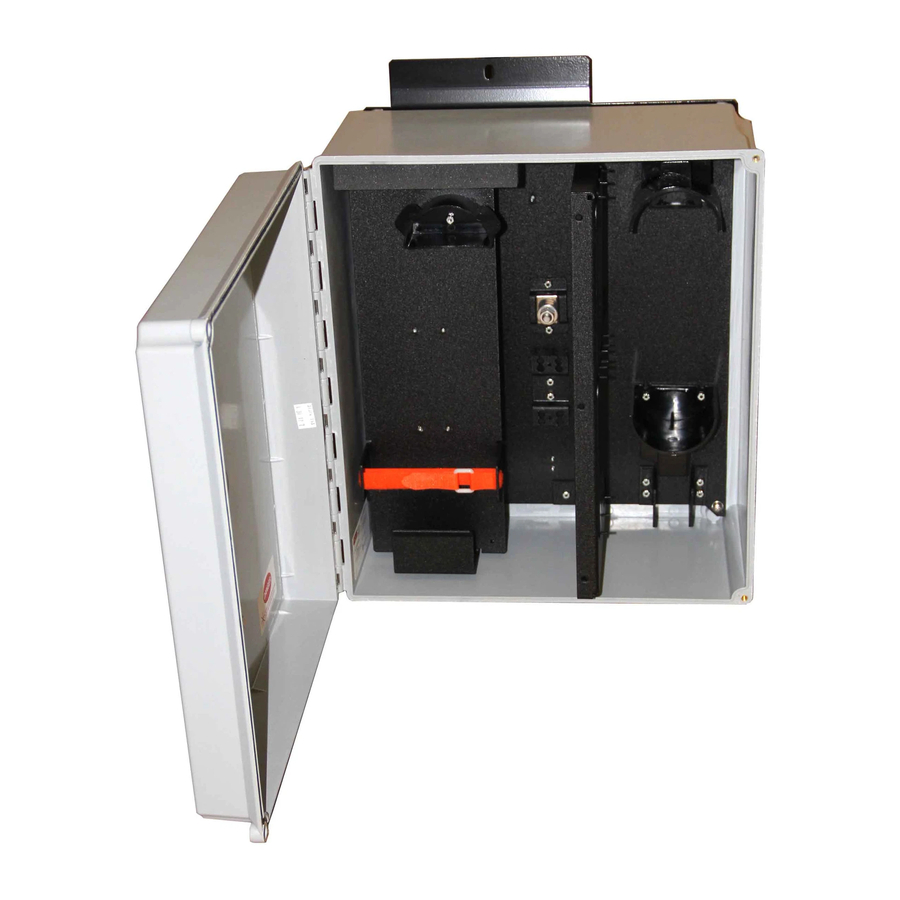
EDC-02P-NH
Step 1:
route the buffer tube(s) and
pigtail(s) around the radius
control guides.
Step 2:
Secure the tray to the wall as
shown. Discard spacers
depending on tray type..
STANDARD RECOMMENDED PROCEDURE 003-304 | ISSUE 10 | September 2010 | PAGE 5 OF 7
EDC-06/12P-NH
Step 1:
TPA-2921
Step 2:
Step 3:
TPA-2920
place completed tray(s) into the holder
and secure with the hook-and-loop
strap (make sure the buffer tube(s)
and pigtail(s) are routed around the
radius control guides as shown).
Starting in the bottom section,
route buffer tube(s) and pigtail(s)
starting at the furthest point from
the tray counterclockwise around
the radius guides.
At the third loop, reinstall the splice
tray holder.
TPA-2923
TPA-2922