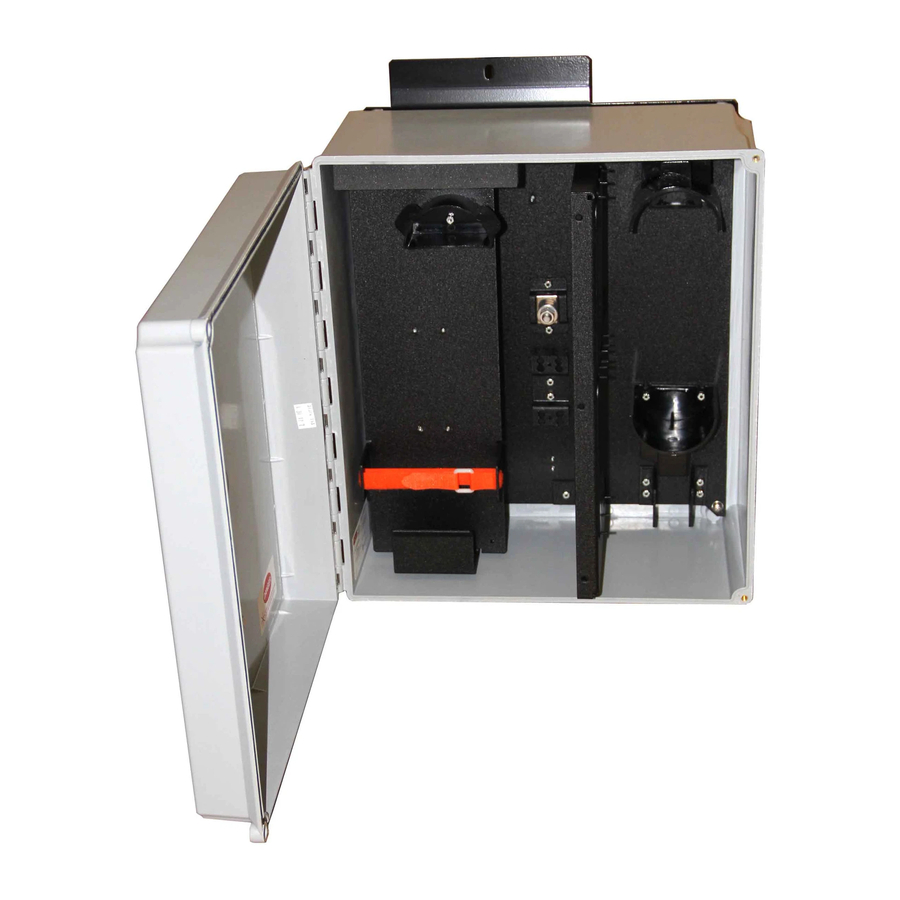
CORNING EDC-02P-NH Handmatig - Pagina 4
Blader online of download pdf Handmatig voor {categorie_naam} CORNING EDC-02P-NH. CORNING EDC-02P-NH 7 pagina's. Environmental distribution center
Ook voor CORNING EDC-02P-NH: Handmatig (12 pagina's)
Step 2:
remove the top nut and the two washers from the bracket.
Step 3:
Loosen the remaining nut.
Step 4:
Insert central member of the cable between the U-shaped washer and bracket.
•
Arrange the buffer tubes to ensure clearance around the central member clamp assembly.
Step 5:
Retighten the nut and reinstall the two flat washers.
Step 6:
Loosely install the other hex nut.
Step 7:
Wrap the yarn around the bolt in a clockwise direction between the flat washers.
Step 8:
tighten the second hex nut.
Step 9:
trim off the excess yarn.
8.
COMPLETE GROUNDING
(WITH HDWR-GRND-KIT)
mount grounding bus to the back plate with the
provided screws and connect grounding wires
as shown.
9.
CABLE ROUTING
CAUTION: Fiber optic cable is sensitive to excessive pulling, bending, and crushing forces. Consult
the cable specification sheet for the cable you are installing. Do not bend the cable more sharply than
the minimum recommended bend radius. Do not apply more pulling force to the cable than specified.
Do not crush the cable or allow it to kink. Doing so may cause damage that can alter the transmission
characteristics of the cable; the cable may have to be replaced.
9.1. For Splicing to Pigtailed Panels or Modules
Step 1:
Install pigtailed panel or module into connector panel bracket.
Step 2:
route buffer tube(s) and pigtail(s) in a counterclockwise direction around the radius guides
with one loop per section, starting with the back section.
•
tWO complete loops for eDC-02p-NH
•
tHree complete loops for eDC-06/12p-NH
STANDARD RECOMMENDED PROCEDURE 003-304 | ISSUE 10 | September 2010 | PAGE 4 OF 7
Buffer Tubes
Central Member
U-shaped Washer
Yarn
Central Member
Bracket
TPA-2919
Yarn
TPA-2917
Buffer Tubes
TPA-2918