Garden Lights TIMER + SENSOR Handmatig - Pagina 9
Blader online of download pdf Handmatig voor {categorie_naam} Garden Lights TIMER + SENSOR. Garden Lights TIMER + SENSOR 12 pagina's.

INSTALLATION AV TIMER OCH TRANSFORMATOR
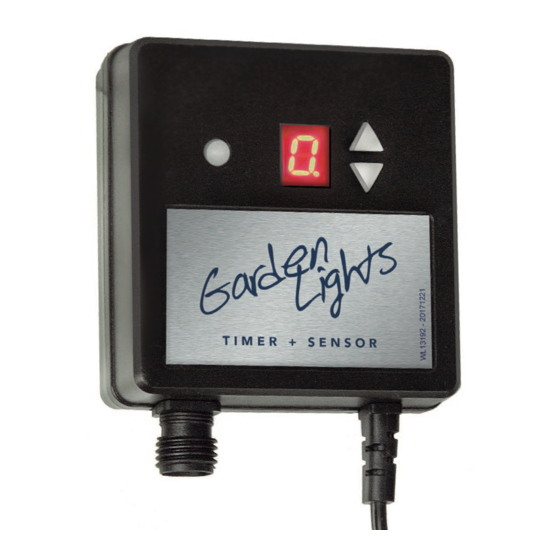
1. Cable to transformer.
2. Cable from the timer to the lights.
3. Display
4. Photo-cell
5. Up/Down Switch Setting
CHECK !
- This is a photo-timer switch which has been designed to be connected to 12 Volt Trans-
formers. This timer can be used for low voltage outdoor lighting.
- This timer can be installed in- and outdoor uncovered. When you install the timer indoor
you must take care that the timer can respond on dusk and dawn influences!
- This timer works at a temperature between -20°C and 50°C.
- Maximum Wattage to be connected to the timer is 150 Watt.
CONNECTION OF TIMER AND MAIN CABLE TO THE TRANSFORMER
- Connect the cable with the lights to the photo timer switch
- This timer should be screwed to the wall with the cable to be connected to the transfor-
mer pointing down.
- Connect the input cable of the photo timer switch to the transformer
- Insert the plug of the transformer into the electric outlet
OPERATION PROCEDURES:
Efter installationen är strömindikatorn på.
0
Timer switch is on, lights always burn.
Auto: From Dusk to Dawn automatically
A
1
9
Timer automatically switches on at Dusk. Timer will be switched on during the
time mentioned on the display (1-9)
With certain installation the lights should work now. If not, check the following
things:
- Connections between the main cable and the wire from the lamp.
- Check the lamps.
- When no single light is working, check the transformer and/or timer and let a specialist
measure them both.
FUSE
This timer is secured against short circuiting. - (250V - 20A)
EN
