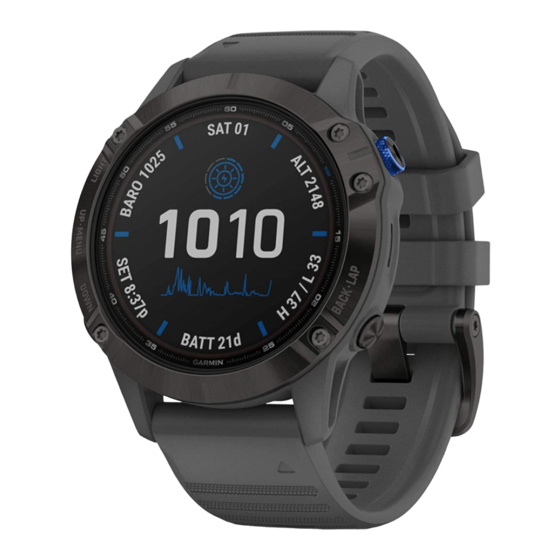
Garmin fenix Gebruikershandleiding - Pagina 14
Blader online of download pdf Gebruikershandleiding voor {categorie_naam} Garmin fenix. Garmin fenix 18 pagina's. Turn on smart watch of 2022 - go wiki
Ook voor Garmin fenix: Aan de slag handleiding (4 pagina's), Gebruikershandleiding (22 pagina's), Snelstarthandleiding (18 pagina's), Faq (5 pagina's), How-To (8 pagina's)

3
Select a measurement type.
4
Select a unit of measure.
Position Format Settings
NOTE: Do not change the position format or the map datum
coordinate system unless you are using a map or chart that
specifies a different position format.
Select Setup > Pos. Format.
Format: Sets the position format in which a given location
reading appears.
Datum: Sets the coordinate system on which the map is
structured.
Spheroid: Shows the coordinate system the device is using.
The default coordinate system is WGS 84.
Fitness Settings
Select Setup > Fitness.
Auto Lap: Sets the device to automatically mark the lap at a
specific distance.
User: Sets the user profile information
HR Zones: Sets the five heart rate zones for fitness activities
(page
8).
Setting Your Fitness User Profile
The device uses information that you enter about yourself to
calculate accurate data. You can modify the following user
profile information: gender, age, weight, height, and lifetime
athlete
(page
10).
1
Select the Orange key.
2
Select Setup > Fitness > User.
3
Modify the settings.
About Lifetime Athletes
A lifetime athlete is an individual who has trained intensely for
many years (with the exception of minor injuries) and has a
resting heart rate of 60 beats per minute (bpm) or less.
Geocache Settings
Select Setup > Geocaches.
List: Allows you to display the geocache list by names or codes.
chirp: Turns chirp searching on or off
Device Information
Viewing Device Information
You can view the unit ID, software version, and license
agreement.
1
Select the Orange key.
2
Select Setup > About.
Updating the Software
NOTE: Updating the software does not erase any of your data
or settings.
1
Connect your device to a computer using the USB cable.
2
Go to www.garmin.com/products/webupdater.
3
Follow the on-screen instructions.
Device Care
Do not use a sharp object to clean the device.
10
(page
10).
(page
6).
NOTICE
Avoid chemical cleaners and solvents that can damage plastic
components.
Avoid pressing the keys under water.
Avoid extreme shock and harsh treatment, because it can
degrade the life of the product.
Do not store the device where prolonged exposure to extreme
temperatures can occur, because it can cause permanent
damage.
Cleaning the Device
1
Wipe the device with a cloth dampened with a mild detergent
solution.
2
Wipe it dry.
Specifications
Battery type
500 mAh Lithium-ion battery
Battery life
Up to 6 weeks
Water resistance
Water resistant to 164 ft. (50 m)
Operating temperature
From -4ºF to 122ºF (from -20ºC to 50ºC)
range
Radio frequency/
2.4 GHz ANT+ wireless communications
protocol
protocol
Bluetooth ® Smart device
Heart Rate Monitor Specifications
Battery type
User-replaceable CR2032, 3 volts
Battery life
Up to 4.5 years (1 hour per day). When the
battery is low, a message appears on your
compatible Garmin device.
Water resistance
Water resistant to 98.4 ft. (30 m)
NOTE: This product does not transmit heart rate
data to your GPS device while swimming.
Operating
From 23°F to 122°F (from -5°C to 50°C)
temperature range
Radio frequency/
2.4 GHz ANT+ wireless communications protocol
protocol
Battery Information
The actual battery life depends on how much you use GPS,
device sensors, optional wireless sensors, and the backlight.
Battery Life
Mode
16 hours
Normal GPS mode
50 hours
UltraTrac GPS mode
Up to 2 weeks
Always On sensor mode
Up to 6 weeks
Watch mode
Heart Rate Monitor Battery
Do not use a sharp object to remove user-replaceable batteries.
Contact your local waste disposal department to properly
recycle the batteries. Perchlorate Material – special handling
may apply. Go to
www.dtsc.ca.gov/hazardouswaste
/perchlorate.
Replacing the Heart Rate Monitor Battery
1
Use a small Phillips screwdriver to remove the four screws
on the back of the module.
2
Remove the cover and battery.
WARNING
Device Information
