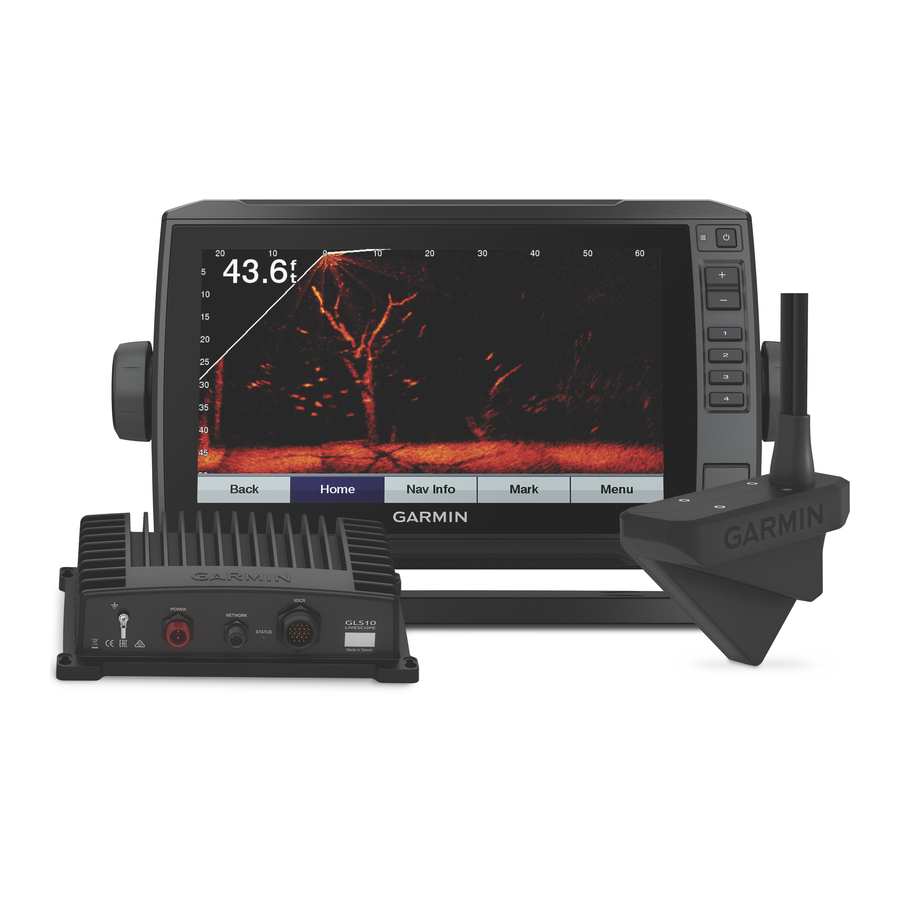
Garmin Panoptix Livescope Handleiding voor installatie-instructies - Pagina 4
Blader online of download pdf Handleiding voor installatie-instructies voor {categorie_naam} Garmin Panoptix Livescope. Garmin Panoptix Livescope 6 pagina's.

Mounting the Sonar Module
Mounting the Panoptix LiveScope GLS 10 Device
If you are mounting the device in fiberglass, when drilling the
pilot holes, it is recommended to use a countersink bit to drill a
clearance counterbore through only the top gel-coat layer. This
will help to avoid cracking in the gel-coat layer when the screws
are tightened.
NOTE: Stainless-steel screws may bind when screwed into
fiberglass and overtightened. It is recommended to apply an
anti-seize lubricant to the screws before installing them.
NOTE: Screws are included with the device, but they may not
be suitable for the mounting surface.
Before you mount the device, you must select a mounting
location and determine what screws and other mounting
hardware are needed for the surface.
1
Place the device in the mounting location and mark the
location of the pilot holes.
2
Drill a pilot hole for one corner of the device.
3
Loosely fasten the device to the mounting surface with one
corner and examine the other three pilot-hole marks.
4
Mark new pilot-hole locations if necessary, and remove the
device from the mounting surface.
5
Drill the remaining pilot holes.
6
Secure the device to the mounting location.
Blink Codes
After the sonar module is installed, it turns on when the
chartplotter is turned on. The color status LED on the sonar
module indicates its operational status.
LED Color State
Green
Blinking
Red
Blinking
Orange
Blinking
Red/Green Blinking
Red
Two blinks
followed by a 3-
second pause
Red
Three blinks
followed by a 3-
second pause
Red
Five blinks
followed by a 3-
second pause
4
NOTICE
Status
The sonar module is connected to a
chartplotter and is operating properly.
You should see sonar data on the
chartplotter.
The sonar module is turned on, but is
not connected to a chartplotter, or is
waiting to connect to a chartplotter. If the
sonar module is connected to the
chartplotter and this code persists,
check the wiring connections.
A software update is in progress.
Reserved
Other sonar failure.
The transducer is not detected by the
sonar module. If this code persists,
check the wiring connections.
The sonar module input voltage exceeds
the maximum input voltage.
Installation Diagram
Compatible Garmin chartplotter
Panoptix LiveScope GLS 10 sonar module
Garmin Marine Network small connector to full-size GarminMarine
Network adapter cable
RJ-45 connector
Garmin Marine Network cable small connector
7.5 A fast-acting fuse (required, not included)
You must connect the power wire through a 7.5 A fast-acting fuse
(not included). If you omit a fuse, the device can malfunction.
Power cable
Transducer cable
Panoptix LiveScope LVS32 transducer
Power Cable Extensions
If necessary, you can extend the power cable using the
appropriate wire gauge for the length of the extension.
Item
Description
Fuse
Battery
9 ft. (2.7 m) no extension
Item Description
Splice
• 10 AWG (5.26 mm²) extension wire, up to 4.6 m (15 ft.)
• 8 AWG (8.36 mm²) extension wire, up to 7 m (23 ft.)
• 6 AWG (13.29 mm²) extension wire, up to 11 m (36 ft.)
Fuse
8 in. (20.3 cm)
Battery
8 in. (20.3 cm)
Maximum extension 36 ft. (11 m)
Calibrating the Compass
Before you can calibrate the compass, the transducer must be
installed on the shaft far enough away from the trolling motor to
avoid magnetic interference, and deployed in the water.
Calibration must be of sufficient quality to enable the internal
compass.
NOTICE
