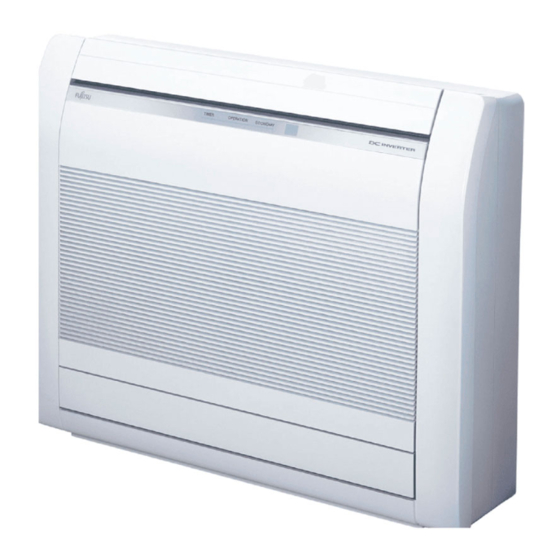
Fujitsu Suelo AGY40-KV Bedieningshandleiding - Pagina 7
Blader online of download pdf Bedieningshandleiding voor {categorie_naam} Fujitsu Suelo AGY40-KV. Fujitsu Suelo AGY40-KV 13 pagina's.
Ook voor Fujitsu Suelo AGY40-KV: Bedieningshandleiding (13 pagina's)

5.2. Airfl ow direction setting
For details of the airfl ow ranges, refer to "Airfl ow direction
range".
Up and down airfl ow direction setting
Press
to adjust the Up and down airfl ow direction.
Left and right airfl ow direction setting
CAUTION
Before you adjust the left and right airfl ow direction,
make sure that the up and down airfl ow direction louver
has been stopped completely.
Adjust two knobs by hand.
Swing operation setting
Press
to start/stop the Swing operation.
NOTES: The Swing operation may stop temporarily when the indoor
unit fan is rotating at very low speed or is stopped.
Airfl ow direction range
Up and down airfl ow direction
Change by
Swing operation by
NOTES:
• Do not adjust the airfl ow direction louvers by hand.
• In the Auto or Heating mode, the airfl ow direction stay position 1 for
a while from the start of the operation.
• When indoor unit is embedded in a wall, airfl ow is fi xed to horizontal
direction 5.
Please ask the service personnel to perform the embedding in a
wall.
Vertical louver Adjustment
Adjust the vertical louver.
Move the vertical louver to adjust airflow in the direction you
prefer.
CAUTION
Always adjust the vertical louver when the damper is
open. Opening the damper forcibly with hands can
cause damper to malfunction.
Air outlet selection
With this function , air come out simultaneously from the upper
and lower air outlets so that the room can be cooled or heated
eff ectively. This function is set using the switch behind the front
grille of the Indoor unit. (This function is available in cooling and
heating operation.)
• How to set to blow out air from the upper and lower air outlets.
NOTES:
• Set the air outlet selection switch to the end. Otherwise, air outlet
Description of operation
Operation Mode
Cooling
Dry
Heating
1 ⇄ 2 ⇄ 3 ⇄ 4 ⇄ 5
1
5
NOTES: When [
Timer setting procedure
Before setting the timer, please adjust the clock. (Refer to "remote
controller preparation").
1. Press
2. Press
3. Press
4. Set each timer operation.
5. Press
• To cancel the timer setting during the procedure, press
Air Outlet Selection switch
Upper airfl ow
cannot be selected as intended.
Airfl ow
Upper and lower
airfl ow
Upper airfl ow
Upper and lower
airfl ow
Upper and lower
airfl ow
Upper airfl ow
6. TIMER OPERATIONS
] indicator on the indoor unit blinks, set the clock
and timer again. This blinking shows that the internal clock go
wrong due to an interruption of the power supply. (Refer to
page 10.)
.
on the remote controller display will blink.
to choose timer operation.
(
)
The timer operation will change as follows:
Enables you to set operation
Weekly timer
schedules up to 4 setting for each
day of the week.
Starts the operation at your desired
On timer
[
]
time.
Stops the operation at your desired
Off timer
time.
[
]
Operates as the combination of the
Program timer
On timer and Off timer.
[
]
Supports your comfortable sleep
Sleep timer
by moderating the air conditioner
operation gradually.
.
For details, refer to the following instructions of each timer setting.
to complete the timer setting.
Be close to the indoor unit.
again.
Upper and lower airfl ow
Conditions
Room temperature and set
temperature are diff erent.
Room temperature is close
to set temperature, or the air
conditioner has operated for
1 hour.
-
Airfl ow temperature is high
Airfl ow temperature is low.
(During defrosting operation,
start of operation, etc.)
En-6
