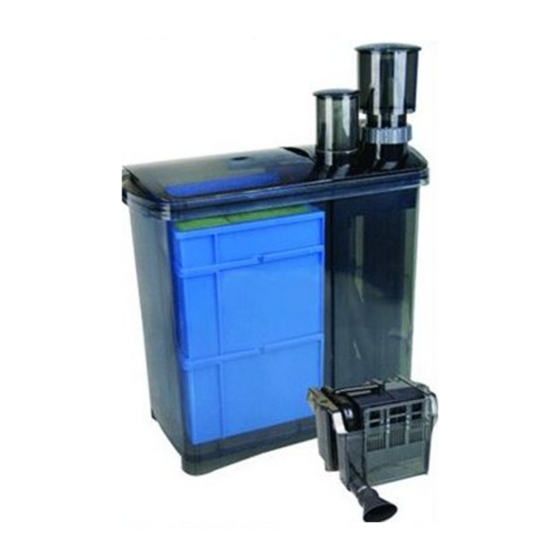
Aqua One MariSys 240 Handmatig - Pagina 8
Blader online of download pdf Handmatig voor {categorie_naam} Aqua One MariSys 240. Aqua One MariSys 240 15 pagina's.
Ook voor Aqua One MariSys 240: Handleiding voor snelle installatie (2 pagina's)

Set Up Instructions
The aquarium's water level can also be raised
or lowered by adjusting the Water Level
Adjuster. (10) Raising the tube will cause the
aquarium's water level to rise and lowering the
Water Level Adjuster will cause the aquarium's
water level to drop.
3. Remove the pre-filter pad, rinse it under
water and place back into the Overflow Box.
4. Turn the Screw Adjuster (11) located at the
bottom of the Overflow Box to level it.
5. Position the Priming Pump (12) with hanger
next to the Overflow Box on the aquarium's rim.
Connect one end of the airline tubing to the
Priming Pump "in" (13) port (indicated by the
arrow which points towards the Priming Pump
on the red connection adapter). Connect the
other end of the airline tubing to the V-Joint (14)
located at the top of the Water Bridge. (15)
6. Connect the second piece of airline tubing to
the "out" (16) port of the Priming Pump
(indicated by the arrow pointing away from the
Priming Pump on the red connection adapter)
and secure the other end of the airline back into
the aquarium. It is very important to ensure this
hose does not dislodge as it will drain the
aquarium.
7. Measure the distance from the Overflow Box
to the MariSys. Be accurate so you do not cut
the hose too short. (Measure twice and cut
once) Take the utility knife and cut the Large
and Small Flexible Hosing (17) to the desired
length.
The Flexible Hosing must follow a straight path
from the Overflow Box to the MariSys. There
can be a little slack but not too much or the filter
will not operate correctly.
8. Place a Hose Clamp over the end of each
piece of Flexible Hose and slide the Flexible
Hosing over the outlet and inlet, located on the
base of the Overflow Box. Do not tighten the
Hose Clamps yet.
9. Do the same for the connections at the top of
the MariSys.
10. Once every thing is in position tighten the
hose clamps so it is a snug fit. DO NOT OVER
TIGHTEN them as you may crack the plastic.
Setting up the Protein Skimmer
For the following section refer to Diagrams 1 &
2 on pages 5 & 6 of this instruction booklet.
1. Set the Protein Skimmer Air Pump (18) in the
cabinet next to the MariSys or on top of it. It is
recommended that the Air Pump always be
positioned higher than the wooden airstone.
Your MariSys is supplied with a Check Valve,
this ensures water does not back siphon into
the Protein Skimmer Air Pump. This allows you
to place the Air Pump on the base of the cabinet
next to the MariSys.
Please Note: All attachments are inserted into
the Airline during production. Simply attach the
blue adapter to the Protein Skimmer Air Pump
and the other end to the Protein Skimmer
Airline Connector (19). Step 2 can be ignored
during set up and referred if needed at a later
date during maintenance.
2. Connect one end of the airline tubing to the
Protein Skimmer Airline Connector (19) and the
other end to Check Valve (20). Connec the
second piece of airline tubing from the Check
Valve to the Air Control Valve (21), and then the
third from the Air Control Valve to the blue
adapter which fits over the 2 outlets of the
Protein Skimmer Air pump.
3. Connect the Waste Hose (22) to the outlet at
the base of the Protein Skimmer Collection Cup
(23), then place the other end of the tubing into
an empty 1 litre Container. (Not supplied) (24)
4. The height of the wooden airstone has been
preset; the bent portion on the rigid tubing of the
Airline Connector is at the recommended
setting.
To raise or lower the airstone, grasp the rigid
tubing and gently turn left or right while pushing
down or pulling up.
If the airstone is positioned too high in the
Reaction Chamber, (25) the air bubbles will
overflow and fill the Collection Cup. Under
normal conditions, the airstone should be
positioned about 1.5 – 2cm from the bottom of
the Reaction Chamber.
8
