Dell Inspiron 600m Servicehandleiding - Pagina 15

Blader online of download pdf Servicehandleiding voor {categorie_naam} Dell Inspiron 600m. Dell Inspiron 600m 40 pagina's. Hard drive
Ook voor Dell Inspiron 600m: Start Here (2 pagina's), Start Here (2 pagina's), Start Here (2 pagina's), Aan de slag handleiding (2 pagina's), Gebruikershandleiding (34 pagina's), Installatiehandleiding (2 pagina's), Aan de slag (2 pagina's), Installatiehandleiding (2 pagina's), Installatiehandleiding (2 pagina's), Installatiehandleiding (2 pagina's), Installatiehandleiding (2 pagina's), Installatiehandleiding (2 pagina's), Installatiehandleiding (2 pagina's), Installatiehandleiding (2 pagina's), Servicehandleiding (41 pagina's), Gebruikershandleiding Mediabasis (26 pagina's), Servicehandleiding (41 pagina's), Installeren en configureren (38 pagina's), Snel aan de slag (2 pagina's), Snel aan de slag (2 pagina's), Snel aan de slag (2 pagina's), Uw computer instellen (2 pagina's), Servicehandleiding (41 pagina's), Servicehandleiding (4 pagina's)
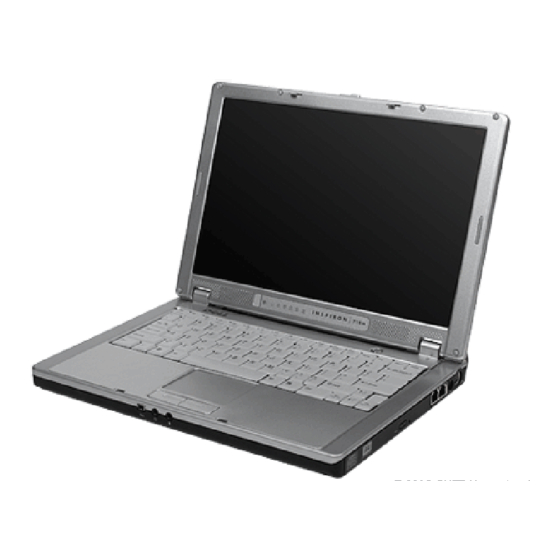
Dell Inspiron 600m Servicehandleiding
Back to Contents Page
  Hard Drive
Dell™ Inspiron™ 700m Service Manual 
  Replacing the Hard Drive
  Returning a Hard Drive to Dell
 Replacing the Hard Drive
 
CAUTION:
Before you begin any of the procedures in this section, follow the safety instructions in the Product Information Guide.
NOTICE:
Disconnect the computer and any attached devices from electrical outlets.
NOTICE:
To avoid ESD, ground yourself by using a wrist grounding strap or by touching an unpainted metal surface on the computer.
NOTICE:
Read
"Before Working Inside Your
 
1. Remove the battery.
 
2. Loosen the three captive screws that secure the hard drive to the bottom case.
NOTE:
Rubber grommets secure each screw to the hard drive so that you do not need to completely remove the screws.
1 captive screws (3)
2 hard drive cover
NOTICE:
When the hard drive is not in the computer, store it in protective antistatic packaging. See "Protecting Against Electrostatic Discharge" in the
Product Information Guide.
 
3. Loosen the two captive screws on the hard drive securing bracket and remove the bracket.
 
4. Pull the hard drive out of the computer using the pull tab.
Computer" before performing the following procedure.