Avyna Pro-Line Tips voor installatie - Pagina 2
Blader online of download pdf Tips voor installatie voor {categorie_naam} Avyna Pro-Line. Avyna Pro-Line 3 pagina's. 12 & 14-foot in-ground trampoline

Step 5 – As shown in the video, find the center of where the trampoline is to be installed and mark a circle that is two
feet shorter than the trampoline size. The circle inside of the14-foot trampoline will be 12-feet in diameter, one foot
inside the stakes you have just installed – for a 12-foot trampoline, 10-feet in diameter.
Step 6 – Now you may begin the excavation. The bottom of the finished excavation should be a minimum of 26-inches
from the original ground level. The sides should slope into the excavation at an angle of 30 to 45 degrees leaving a flat
circle in the center of the excavation that is a minimum of 26-inches deep and from four to eight feet in diameter,
depending on the slope angle of the sides. NOTE: IF YOU ARE EXPECTING EXCESSIVELY HEAVY OR AGGRESSIVE
JUMPERS, YOU SHOULD ADD SEVERAL ADDITIONAL INCHES OF SAFETY DEPTH TO THIS MINIMUM. A bed of gravel
several inches thick along the flat bottom of the excavation will assist in water absorption and drainage. See diagram
below.
Step 7 – When the excavation has been properly prepared as above, place the frame onto and into the eight stakes in
the ground.
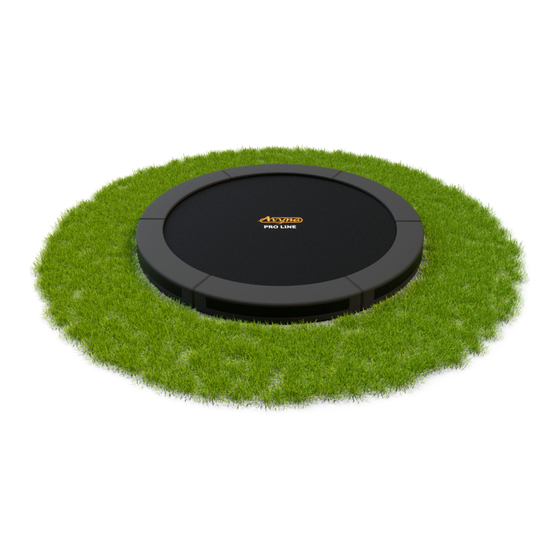
Step 8 – Install the trampoline bed and springs. The bed with the Avyna logo on top should be placed to where the four
spring loops attached with BLUE straps match the four black circles on the frame – at the 90, 180, 270, and 360 degree
points. At these four points, the first four spring should be used to attach the bed to the frame putting the red point of
the spring to the bed – NOT ON THE FRAME. The remainder of the springs should be attached, using the spring tool
provided, putting each spring in the middle of the space between the original four springs, repeating this process until all
the springs are attached. This process keeps from overloading one side of the bed with too many springs and making it
difficult to pull the opposite side to the frame.
Step 8 – If you aligned the dots on the frame with the blue spring straps on the bed, then you will find a small loop on
the underside of the bed under the blue strap. To attach the pad, take the three-clip bungee cord and slip the center
clip through a loop on the bottom of the pad and snap this clip-on small loop on the bed. Attach the two clips on the
ends of the bungee cord to the grommets on the pad that surround the frame. To simplify this process, locate these
loops (there are eight of them on the pad and eight on the bed) before trying to attach the pad at each of the eight
vertical uprights on the frame.
Step 9 – There are 24 wire pad anchors which attach the bottom of the pad to the ground. This keeps miscellaneous
items from getting under the trampoline. Put the wire anchor through the round grommet and lightly drive the wire
anchor with a rubber mallet to ground level.
Step 10 – Your trampoline is now ready for you and your family to jump on it.
