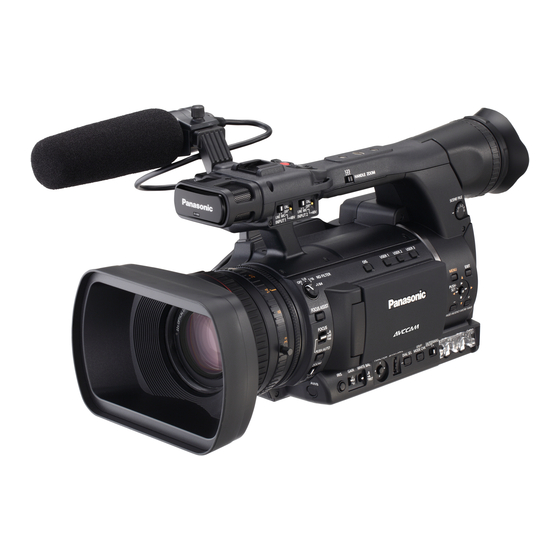
Panasonic AG-AC160A Series Stap-voor-stap handleiding - Pagina 3
Blader online of download pdf Stap-voor-stap handleiding voor {categorie_naam} Panasonic AG-AC160A Series. Panasonic AG-AC160A Series 8 pagina's. Broadcast-grade camera recorder with 22x zoom lens and 2.2 megapixel u.l.t. image sensor
Ook voor Panasonic AG-AC160A Series: Brochure (12 pagina's), Gebruiksaanwijzing (42 pagina's), Beknopte handleiding (1 pagina's)

Step-by-Step Shooting Guide
Power Up, Set to P2 Camera Mode:
1) Make sure the Power Switch is OFF
If it was left on, push in the little white
button and rotate it to OFF
2) Slide a battery into the slot on the rear
surface of the camera. Push it in near the
top of the opening, and slide it down until it
locks into place.
The arrow on the battery label should be
point down when in position.
NOTE! There are 2 larger batteries,
and 1 smaller battery with each cam-
era. The large batteries should last for
at least 4 hours, the small for about 3.
OR
3) Slide the AC power adaptor into the same
slot. The other end of the cable connects to
the jack on the front of the adaptor.
4) Turn on the POWER.
Remember, push in the little white button to
rotate the switch to the ON position.
Charging Batteries
5) If not using the AC power adaptor to power
the camera, you can use it to recharge the
batteries.
The battery slides onto the slot on the top
of the AC Power Supply box.
The CHARGE light will come on while
charging, and go out when finished. Each
battery will require up to 4 hours to fully
recharge if completely drained.
NOTE: You can't charge a battery at the same
time you are using the adaptor as a power
supply! You should completely unplug both
ends of the cable that runs from the camera to
the AC power supply box when charging.
2
3
Pg. 3
1
4
5
