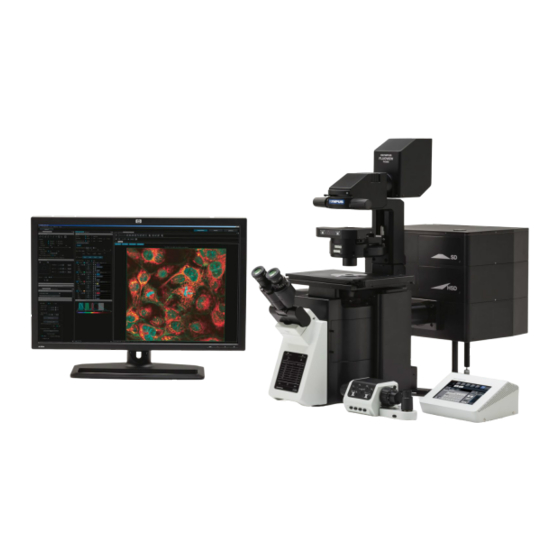
Olympus FV3000 Veiligheidshandboek - Pagina 11
Blader online of download pdf Veiligheidshandboek voor {categorie_naam} Olympus FV3000. Olympus FV3000 16 pagina's.
Ook voor Olympus FV3000: Bedieningshandleiding (38 pagina's), Bedieningshandleiding (5 pagina's)

There's no general rule: these adjustments mainly depend on your sample.
4.6 Image Adjustments – Setting the Gain and Offset properly
Check image saturation level by clicking
Hi-Lo icon. The image will
change color to show red and
blue pixels. Blue indicates that the signal
in a given pixel is black, with a value of 0.
Red indicates that the signal in a given
pixel is saturated (over-exposed) with a
value of 4095.
For optimal performance, the image
needs to be so that then entire image is
set to the limits of the dynamic range.
Different sets of experiments may have
different fluorescence intensities.
Adjust the image using a combination of
the excitation Laser power, HV and Offset:
Reduce either the HV or the laser power,
until red pixels disappear. Increase Offset until a dusting of blue pixels in the background are
observed.
Click LSM start to capture an image.
4.7 How to do a Z stack for a 3D Image (xyz)
1. Under Z Series: ON for Z.
2. Select Live 2x or Live 4x to see the
specimen and click Register under origin
tab to save your focal plane where your
image is focused. After completing the Z-
stack. Move can be selected to move back
to the focal plane of focus.
3. Turn the focus knob clockwise and move all
the way to the top of your sample. Click
Register under start tab.
4. Turn the focus knob anticlockwise and move
all the way to the bottom of your sample.
Click Register under end tab.
5. With system optimized selected, the
program will determine the optimal settings
for your Z-stack. You can override these
settings using the slices or z-step size boxes.
Beware that changing these will alter the z-
resolution you attain.
1
2
5
3
Last updated on Mar 2022
4
