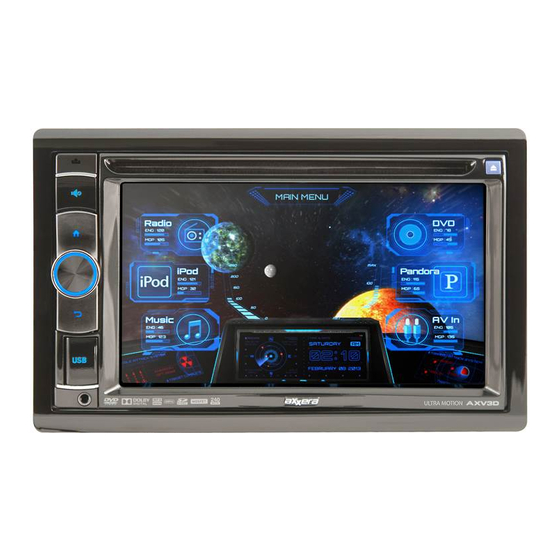
Axxera AXV3D Snelstarthandleiding - Pagina 8
Blader online of download pdf Snelstarthandleiding voor {categorie_naam} Axxera AXV3D. Axxera AXV3D 15 pagina's. Multimedia dvd receiver with ultramotion display

Auxiliary Inputs &
Rear Camera Operation
Bluetooth Operation
R
(Optional)
AXV3D
Operation
Auxiliary Inputs & Rear Camera Operation
Connect an optional audio/video source into the 3.5mm input on the
front panel (AV1) or to the red/white/yellow RCA connectors on the
back of the unit (AV2). Select AV1 or AV2 from the Main Menu to
access audio or video.
Rear Camera
Connect an optional rear camera to the Camera Input (yellow RCA
connector labeled 'CAM IN'). Connect the reverse lamp wire to the
REVERSE line of unit. The unit will automatically select camera mode
when connected to the reverse lamp circuitry.
Preparation
To connect a Bluetooth device, install and connect the BTM100 (sold
separately). When connected to the AXV3D, the BTM100 supports HFP
(hands-free pro le), A2DP (advanced audio distribution pro le), AVRCP
(audio video remote control pro le) and PBAP (phone book access pro le).
Before you can use a Bluetooth device, it must be paired and connected.
Make sure that Bluetooth is activated on your device before you begin
the pairing process.
Pairing a New Device
The BTM100 Bluetooth interface module (sold separately) broadcasts
the pairing signal constantly when no devices are currently connected
Complete the pairing sequence from your Bluetooth device. Refer to the
owner's manual for your device for more details.
The device name is "BTM100"
*Please note that no password is required for pairing.
Once pairing is complete, the TALK button on the BTM100 will be
illuminated in blue.
Note: The AXV3D can be in any mode of operation when pairing is
performed.
Disconnecting a Device
Press
, then press "Disconnect" to disconnect the currently-paired
device.
Note
: The unit must be disconnected from the current device before
beginning the pairing sequence for a new device.
If you press
when no device is connected, the unit will show the list of
previously-paired devices. Press any device name to repair that device.
8
