Digital Acoustics INT-IP-2GANG Aan de slag handleiding - Pagina 4
Blader online of download pdf Aan de slag handleiding voor {categorie_naam} Digital Acoustics INT-IP-2GANG. Digital Acoustics INT-IP-2GANG 4 pagina's.
Ook voor Digital Acoustics INT-IP-2GANG: Aan de slag handleiding (3 pagina's)

• Click on the IP Endpoint to be configured (match the "Icom ID" column to the
Intercom's previously recorded ID#)
• If Endpoint Defaults have been setup,
click the Defaults button to copy them in
• Enter a descriptive name into the
Location Name field
• Check the DHCP option or uncheck it to
enter a Static IP
• If the Endpoint will connect to this
TalkMaster Server, check the
Authorized IP Endpoint option
• Either select the Server IP from the
dropdown or enter the IP Address of the
TalkMaster Server
• Enter the default port of 3000
Select the Options 1 tab
• Relay Mode – If the relay will be used to activate an electronic door strike, select
Door Relay Output from the dropdown
• Use UDP/RTP – Select this option to use the UDP/RTP protocol for sending and
receiving audio instead of the TCP protocol
• Full Duplex – Select this option to enable Full Duplex operation instead of Half
Duplex operation
Select the Options 2 tab
• Audio Profile – Select the INT-IP-2GANG audio profile if using full duplex or
select the Half Duplex audio profile
Change any additional IP Endpoint configuration options and then click SAVE.
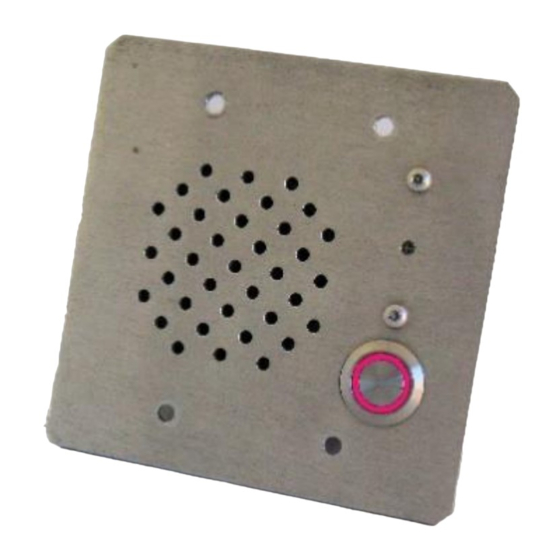
The device will reboot and connect to TalkMaster in about 20 seconds. The Call
button LED will begin flashing rapidly and after 30 seconds, will be on solid
indicating that the Endpoint is connected to TalkMaster.
IP7 and Digital Acoustics® are trademarks of Digital Acoustics LLC.
Other trademarks are the property of their respective owners.
INT-IP-2GangGSG - 2018-03-05 - All Rights Reserved ©2022
www.digitalacoustics.com/support
