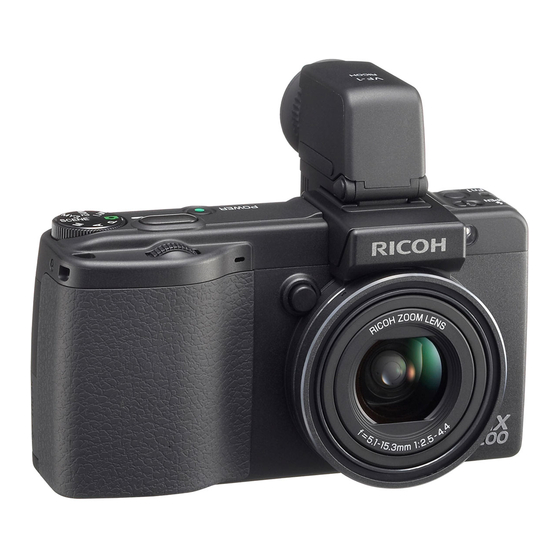
Ricoh GX200 Instructies voor firmware-update - Pagina 3
Blader online of download pdf Instructies voor firmware-update voor {categorie_naam} Ricoh GX200. Ricoh GX200 5 pagina's. Firmware update
Ook voor Ricoh GX200: Brochure & specificaties (8 pagina's)

6.
Select [Yes], and press the MENU/OK button.
• The SD memory card is formatted.
Caution
If you format a card that still has images stored on it, the images will be lost. Save the images you do not want to erase in
your computer before formatting the card.
7.
Turn the camera off, and connect the camera and computer with the
provided USB cable.
• The camera turns on automatically. If the camera does not turn on automatically, press the
POWER button and turn the power on.
• If Caplio Software is installed in your Windows PC, RICOH Gate La may automatically
start up. In this case, exit RICOH Gate La.
• Click [Cancel] if the [Removable Disk] dialog appears in Windows XP or Windows Vista.
• If iPhoto starts up in Mac OS X, exit iPhoto.
8.
Copy the files [claunch3] and [claunch8] (created when the firmware was
extracted) into [RICOHDCX] in [My Computer].
• The camera's drive name may differ depending on the OS you are running.
e.g. [Removable Disk], etc.
For Windows
9.
Open [RICOHDCX] in [My Computer], and confirm that the firmware is
copied as below.
Example of display in Windows
claunch3
claunch8
RICOHDCX
RICOHDCX
DCIM
claunch3
claunch8
For Macintosh
Example of display in Macintosh
3
claunch3
claunch8
RICOHDCX
DCIM
claunch3
claunch8
