Sony Z90 Cctv-producent handleiding - Pagina 6
Blader online of download pdf Cctv-producent handleiding voor {categorie_naam} Sony Z90. Sony Z90 17 pagina's. Full auto settings

SETTING UP THE CAMERA AUDIO
When you set up your camera you will also need to set up the Audio. As a default setting, if the
microphone is not attached NO AUDIO will record.
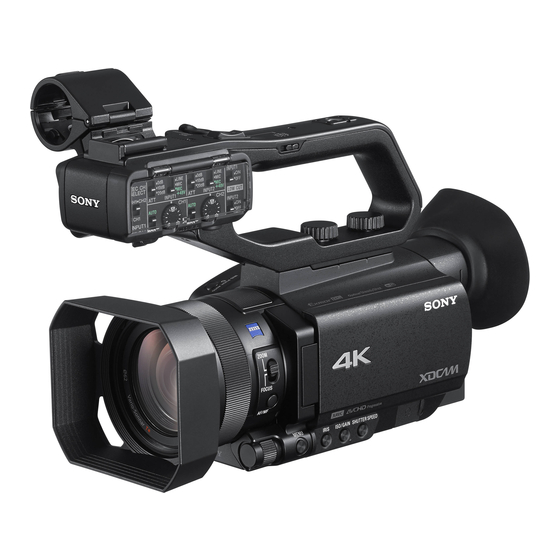
ATTACHING THE MICROPHONE
Open the Mic latch & place the microphone into the holder. Make sure
the rubber holder is positioned in the camera latch correctly.
Clip the latch shut & plug the XLR cable into "INPUT 1".
Make sure the XLR cable is fully connected, you should hear it click into
place.
To remove the cable, hold down the metal tab and pull the cable out.
SINGLE MICROPHONE SETTINGS
When using only the shotgun microphone with
automatic settings the audio panel should be set to
these settings.
CONTORL OPTIONS
ATT (Attinuation) - Will lower the max recording
volume by 10db or 20db.
INPUT - LINE: mix from sound board, MIC: powered
mic, MIC +48v: Phantom power for microphone
LOW CUT - cuts out the lowest frequency sounds (cuts wind noise & electric hum)
CH VOLUME - AUTO/MANUAL switch & volume level wheel
DOUBLE MICROPHONE SETTINGS
To have multiple audio sources plugged into the camera
you need to change the REC CH SELECT to CH1.
This will split the controls and record INPUT 1 and
INPUT 2 onto separate channels that you will mix
later.
You will hear the audio from INPUT 1 in your LEFT ear
INPUT 1
INPUT 2
and the audio from INPUT 2 in your right ear.
CONTROLS
CONTROLS
At this point you can adjust the input settings individually.
! 6
