INTRODUCTION
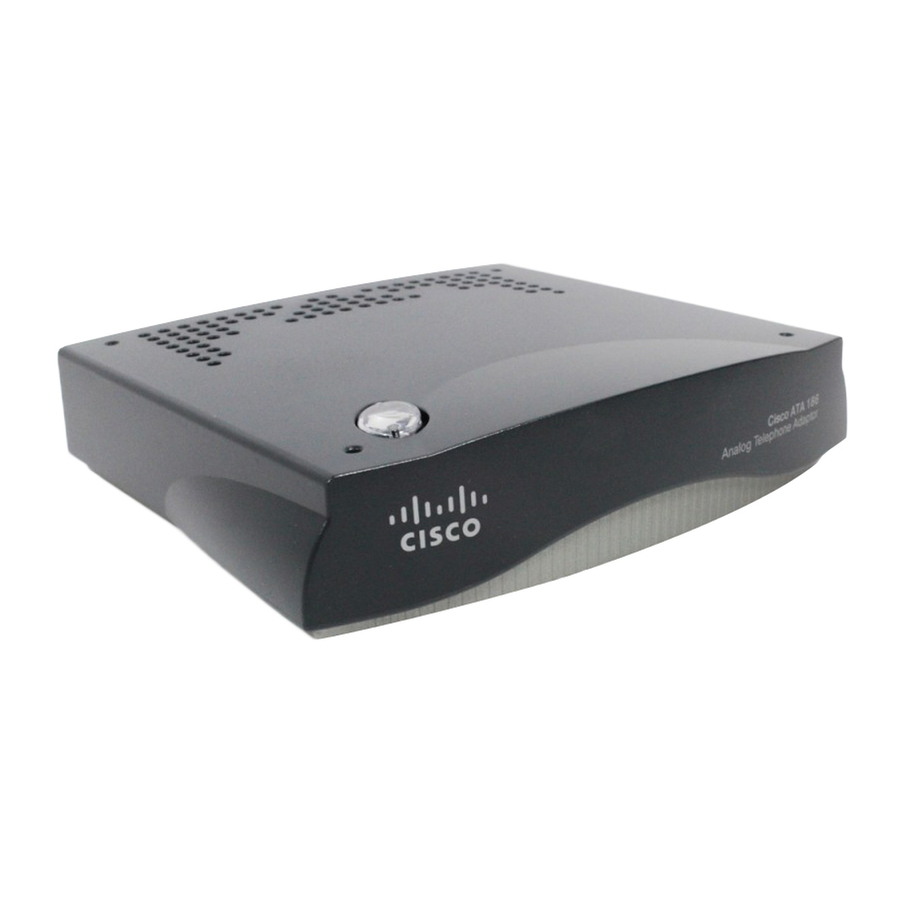
This Configuration Guide will outline the steps for configuring the CISCO® ATA 186 Analog Telephone
Adaptor (ATA) for calling using the CafeFone service.
For more details on installing or configuring the ATA, please review the User's Guide, located at:
http://www.cisco.com/univercd/cc/td/doc/product/voice/ata/index.htm
For release notes on the SIP 3.1.0 firmware, please review the Release Notes, located at:
http://www.cisco.com/univercd/cc/td/doc/product/voice/ata/atarn/atarn3_1.htm
R
EQUIREMENTS
Connection to a broadband Internet Service Provider (ISP) or Local Area Network (LAN).
An account number and passcode for each CafeFone phone port.
(If you do not have an account number or passcode, please contact your local reseller.)
Any conventional analog telephone.
A Cisco ATA with firmware version 3.1.0 or higher.
A PC connected to the same network as the ATA. (For initial configuration steps only.)
S
UPPORT
If you need technical support for using the ATA with the CafeFone service, please contact your local reseller.
SET UP YOUR ATA
To set up your ATA:
1. Connect the ATA to your Ethernet port by plugging one end of an Ethernet cable (RJ-45) into the
back of the ATA and the other end into a broadband router or LAN port.
2. Connect your telephone into the ATA by plugging a standard RJ-11 telephone cable from your
phone into the ATA's Phone1 port.
To connect another telephone, plug a standard RJ-11 telephone cable from the second phone into the
ATA's Phone2 port.
3. Power on the ATA by plugging its power supply into an AC outlet and then plugging the power
cable into the power supply port on the back of the ATA. The ATA will power on, and the button on
top of the ATA will begin to blink.
CONFIGURE AN IP ADDRESS
In order to properly set up your CafeFone account and network settings, your ATA must be assigned an IP
address.
Your ATA's IP address can be dynamic (DHCP) or static. To configure your ATA for DHCP, continue to the
next section, DHCP Configuration. To configure your ATA with a static IP address, skip to the Static IP
Configuration section on page 2.
CafeFone Configuration Guide for the Cisco ATA186
Page 1

