Epson Stylus Pro 4880 ColorBurst Edition - Stylus Pro 4880 ColorBurst Installatiehandleiding - Pagina 14

Blader online of download pdf Installatiehandleiding voor {categorie_naam} Epson Stylus Pro 4880 ColorBurst Edition - Stylus Pro 4880 ColorBurst. Epson Stylus Pro 4880 ColorBurst Edition - Stylus Pro 4880 ColorBurst 16 pagina's. Warranty statement
Ook voor Epson Stylus Pro 4880 ColorBurst Edition - Stylus Pro 4880 ColorBurst: Specificatieblad (6 pagina's), Aan de slag (13 pagina's), Brochure & specificaties (6 pagina's), Snelle referentiehandleiding (12 pagina's), Netwerkhandleiding (46 pagina's), Installatiehandleiding (4 pagina's), Handleiding productinformatie (16 pagina's), Beperkte garantie (12 pagina's)
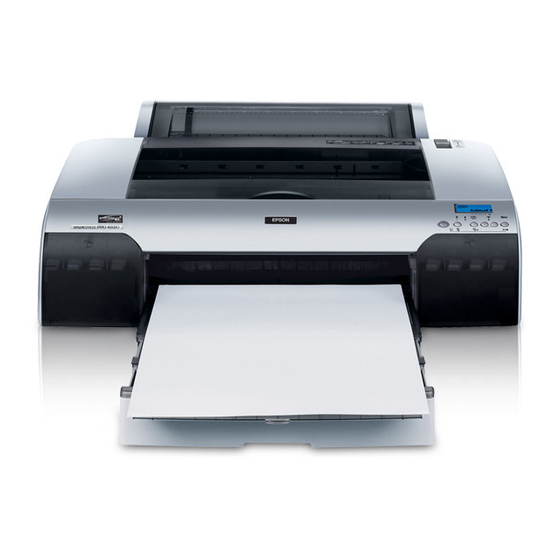
Epson Stylus Pro 4880 ColorBurst Edition - Stylus Pro 4880 ColorBurst Installatiehandleiding
Installing the Printer Driver and
Software
After connecting the printer to your computer,
you need to install the software included on the
Printer Software CD-ROM shipped with your
printer. To install your printer software, follow the
steps below.
Note:
Be sure that you have an administrator rights to install
the software.
1. Insert the Printer Software CD-ROM shipped
with your printer in the CD-ROM drive.
2. When the following dialog box appears,
install the printer driver according to your
connection. Select Set up the printer via a
local connection when the printer is
connected to the computer directly or Set up
the printer via a network connection when
the printer is connected to the network. Follow
the on-screen instructions.
12
Note:
If the following dialog box appears, make sure the
publisher is SEIKO EPSON, and then click
Unblock.
3. If you want to install other printer software,
select it from the dialog box in step 2.
Selecting your printer
After you have installed the printer software on
your computer, you need to select your printer.
You must select a printer the first time you use it
or whenever you want to switch to another
printer. Your computer will always print using the
last printer selected.
1. Double-click Macintosh HD (default setting).
2. Double-click the Applications folder.
3. Double-click the Utilities folder.
4. Double-click Print Center (for Mac OS X
10.2.x) or Printer Setup Utility (for Mac OS X
10.3.x or later).
5. Click Add.
6. Select your printer, and then click Add.
If your printer does not appear in the list, click
More Printers, and select a connection, such
as EPSON TCP/IP. Select your printer from the
list, and then click Add.
7. Make sure the Printer List contains the printer
you just added. Then, close the Printer List
dialog box.