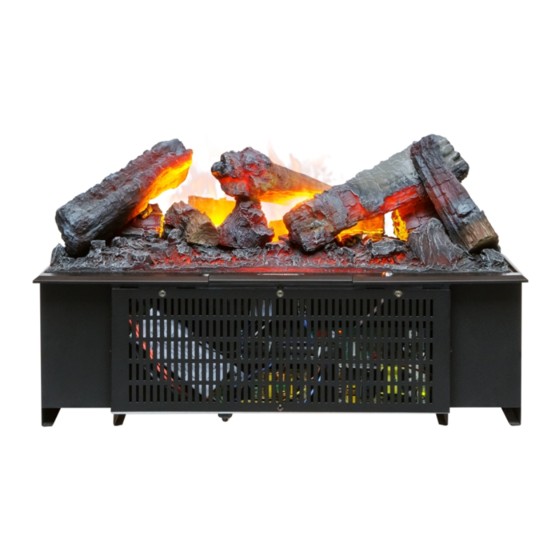
Dimplex Opti-myst Snelstarthandleiding - Pagina 2
Blader online of download pdf Snelstarthandleiding voor {categorie_naam} Dimplex Opti-myst. Dimplex Opti-myst 3 pagina's. Wall engine
Ook voor Dimplex Opti-myst: Gebruikershandleiding (13 pagina's), Handmatig (17 pagina's), Handmatig (16 pagina's)

Changing a
Transducer
1.
Switch the fire off on the unit and at the mains.
2.
Remove the fuel bed, water bottle and the nozzle assembly
by twisting the red twist clips either side (left hand clockwise
& right hand anticlockwise) or push release clips on the front
of the nozzle assembly. IMAGE 1.
3.
Unplug the old transducer. IMAGE 2.
4.
Place the new transducer into the sump, ensuring that the
transducer is correctly placed – the tab on the transducer
should be lined up with the moulded recess in the sump
and the unit should be sitting flat. IMAGE 3.
5.
Join the cable to the connector on the sump on the right
hand side. IMAGE 4.
6.
Ensure that the cable is not placed above the disc on the
transducer unit. IMAGE 5.
7.
To prevent the cable becoming pinched between the nozzle
and the sump, place the cable in the provided slot in the
right hand side wall of the sump. IMAGE 5.
8.
Replace the sump nozzle and secure it by turning the two
red/black tabs by 90 degrees (left hand anti clockwise and
right hand clockwise, or clicked back into place if your fire
has the push fit clips. IMAGE 6.
9.
Once everything has been put back together, please wait
for 5 minutes before turning the fire back on at the mains
and at the fire. This will allow the fire to reset and allow
the fire to function correctly.
Scan here to watch our video
"How to change a transducer" online
1
3
5
2
4
6
