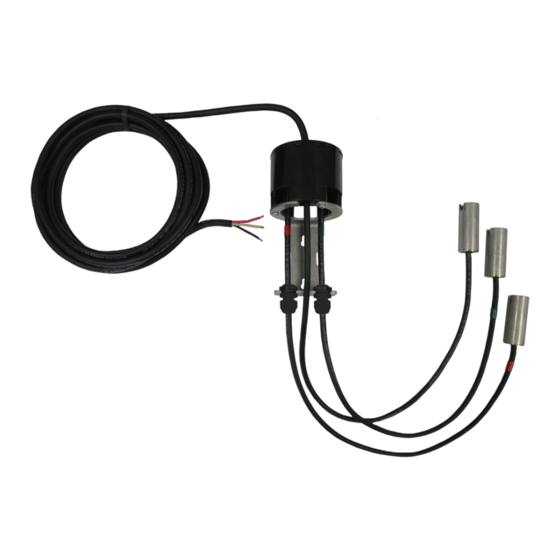
Alderon Industries ProbeX Series Bedienings-, onderhouds- en installatiehandleiding - Pagina 3
Blader online of download pdf Bedienings-, onderhouds- en installatiehandleiding voor {categorie_naam} Alderon Industries ProbeX Series. Alderon Industries ProbeX Series 4 pagina's. Vertical pump switch

Installation of the ProbeX™ Continued
5. Excess cable should be neatly bundled and secured with the
included RubberLox™ adjustable strap and remaining between
the bracket (Fig. 6). CAUTION! Do not secure probe cables next
to the power cable as magnetic interference while the pump is
running may interfere with the liquid detection electronics and
may cause erratic operation such as continuous pump running.
6. For piggyback plug models, plug the pump power cable into the female piggyback plug on the ProbeX™ pump
switch (Fig. 7A), and then plug the male end of the piggyback plug into the receptacle (voltage depends on model;
Fig. 7B). After the pump and piggyback plugs are connected to a receptacle, see page 4 for testing.
7. For hardwire models connecting to a pump, 120VAC models see figure 8 and 230VAC models see figure 9.
(Fig. 8)
120 VAC
G N L1
POWER SOURCE
G
PUMP
G T2 T1
Alderon Industries • PO Box 827 Hawley, MN 56549 • P: 218-483-3034 • F: 218-483-3036 • alderonind.com
ProbeX
- Installation Instructions
™
(Fig. 7)
WIRE USING
JUNCTION BOX
BLACK
WHITE
RED
ProbeX™
Power Cable
Power Cable
RubberLox™
(7B)
(7A)
(120VAC example shown)
(Fig. 9)
230 VAC
G L2 L1
POWER SOURCE
G
PUMP
G T2 T1
Installation Instructions | Page 3
(Fig. 6)
WIRE USING
JUNCTION BOX
BLACK
WHITE/RED
RED
ProbeX™
Power Cable
