Alderon Industries ProbeX Series Bedienings-, onderhouds- en installatiehandleiding - Pagina 4
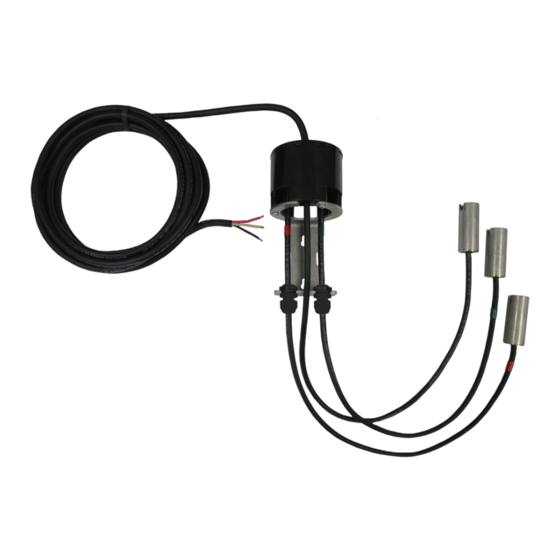
Blader online of download pdf Bedienings-, onderhouds- en installatiehandleiding voor {categorie_naam} Alderon Industries ProbeX Series. Alderon Industries ProbeX Series 4 pagina's. Vertical pump switch

Installation of the ProbeX™ Continued
8. For hardwire models connecting to a pilot/control circuit, refer to the wiring schematics below for 120VAC circuits
(Fig. 10) and 230VAC circuits (Fig. 11).
Disconnect
L1
120 VAC
N
Power
Testing the ProbeX™
1. After all the steps of the installation process have been completed, supply power to the pump switch and peform
testing.
2. "Pump Down" Models - Raise the water level in the tank or monitoring area until the "stop" probe is submerged
in water, the pump should not start. Continue raising the water level until the "start" probe is also submerged, the
pump should start, and remain on until the water level recedes below the bottom of the "stop" probe. Repeat this
process a couple of times to ensure the system is working properly.
3. "Pump Up" Models - Raise the water level in the tank or monitoring area until both the "stop" and "start" probes
are submerged in water to start the test. Lower the water level until it recedes below the bottom of the "stop" probe,
the pump should not start. Continue lowering the water level until the "start" probe is completely out of the water, the
pump should start and remain on until the water level touches the bottom of the "stop" probe. Repeat this process
a couple of times to ensure the system is working properly.
Maintenance
The ProbeX™ uses an isolated patented circuit that detects water with no shock hazard at the probes.
1. Test system monthly to ensure pump switch and system integrity.
2. Keep both stainless steel probes clean and free of rust, mud, soap, or any type of non-conductive material by
inspecting and cleaning monthly.
ProbeX
Pump Switch | Model Nomenclature and Custom Part Number Chart
™
ProbeX™ (P)
P
Select one item from each column above and enter selections in the Model Number Boxes 1-5 below, this is your ProbeX™ Pump Switch Custom Part Number.
MODEL # BOX 1
P
Example Part Number: PD1WP20S30 | ProbeX™ Pump Switch, Pump Down, 120VAC Piggyback Plug, 20' Pump Switch Cable, and 30' Probe Cable
Page 4 | Installation Instructions
Alderon Industries • PO Box 827 Hawley, MN 56549 • P: 218-483-3034 • F: 218-483-3036 • alderonind.com
ProbeX
- Installation Instructions
™
(Fig. 10)
M1
L1
T1
Example Wiring
L2
T2
to 120V Pilot Circuit
L1
L1
A1
A2
M1
120V Coil
L1
120 VAC
N
L1 (Switched)
Detection
120 VAC Model
Circuit
ProbeX™ ONLY
15 Amp
Pump Down (D)
or
Without Plug (WOP)
Pump Up (U)
Piggyback Plug (WP)
D
U
MODEL # BOX 2
Disconnect
L1
230 VAC
L2
Power
(custom lengths available)
120VAC (1)
Pump Switch
230VAC (2)
Cable Length
1WOP
2WOP
1WP
2WP
MODEL # BOX3
MODEL # BOX 4
(Fig. 11)
M1
L1
T1
Example Wiring
L2
T2
to 230V Pilot Circuit
L1
L1
A1
A2
M1
230V Coil
L1
230 VAC
L2
L1 (Switched)
Detection
230 VAC Model
Circuit
ProbeX™ ONLY
15 Amp
Suspension Probe
Cable Length
(feet)
(feet)
15
20
25
S10
30
S20
50
S30
S50
MODEL # BOX 5
S2
S5
