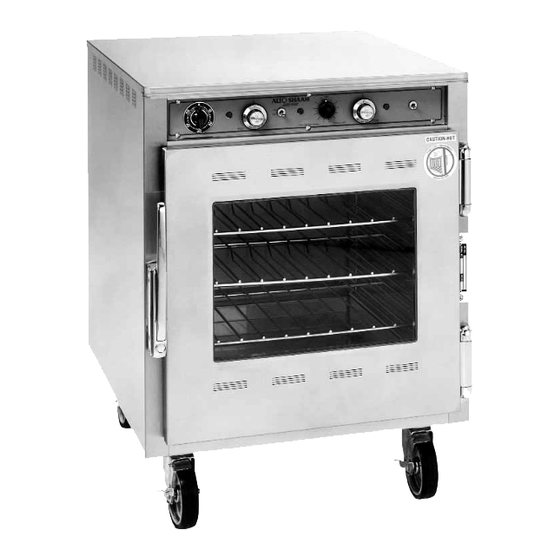
Alto-Shaam CH-DM Bedienings- en onderhoudshandleiding - Pagina 3
Blader online of download pdf Bedienings- en onderhoudshandleiding voor {categorie_naam} Alto-Shaam CH-DM. Alto-Shaam CH-DM 12 pagina's. Low temperature cooking and holding oven

0
50
10
40
20
30
Holding
Indicator
60 Minute
Bell Timer
G E N E R A L O P E R AT I O N
1. Turn oven POWER SWITCH 'ON'.
— POWER 'ON' INDICATOR LIGHT will illuminate and
will remain lit as long as the Power Switch is in the
'ON' position.
2. Set the HOLD THERMOSTAT to the required holding
temperature.
— HOLDING INDICATOR LIGHT will illuminate as the
Hold Thermostat calls for heat. This process will
continue as long as the Power Switch and Hold
Thermostat are 'ON'.
3. Set COOK THERMOSTAT to the required cooking
temperature.
4. To preheat the oven, activate the Cook Thermostat by
turning the COOKING TIMER clockwise.
— COOKING INDICATOR LIGHT and HOLDING
INDICATOR LIGHT will illuminate as the Cook
Thermostat calls for heat. This process will
continue until the COOKING TIMER cycles to the
'OFF' position.
These instructions are basic operational guidelines only.
For complete instructions, see the HALO HEAT Hot Deli
Guide: Recipe to Success packed with the oven.
DISCONNECT THE CABINET FROM
E Q U I P
THE POWER SOURCE B E F O R E
C L E A N I N G O R S E R V I C I N G .
E Q U I P M E N T C A R E
Under normal circumstances, this oven should provide you
with long and trouble-free service. There is no preventative
maintenance required, however, the following Equipment
Care Guide will maximize the potential life and trouble-free
operation of this oven.
The cleanliness and appearance of this equipment will
contribute considerably to operating efficiency and savory,
appetizing food. Good equipment that is kept clean works
better and lasts longer.
2
OVEN CONTROL PANEL
ON
OFF
HOLD
ON/OFF
Power Switch
Hold
Power ON
Thermostat
Indicator
Operation and Care Manual #861
OFF
TIMER
COOK
Cooking
Timer
Thermostat
1. C L E A N T H E O V E N D A I L Y .
A. Disconnect the oven from the power
source.
B. Remove all detachable items such as
wire shelves, side racks, and drip pan.
Clean these items separately.
C. Clean the interior metal surfaces of the
cabinet with a damp cloth and any good alkaline or
alkaline chlorinated based commercial detergent or
grease solvent at the recommended strength. Use a
plastic scouring pad or oven cleaner for difficult areas.
Avoid the use of abrasive cleaning compounds,
chloride based cleaners, or cleaners containing
quaternary salts. Rinse well to remove all residue and
wipe dry.
NOTE: Never use hydrochloric acid (muriatic acid) on
stainless steel.
D. To help maintain the protective film coating on polished
stainless steel, clean the exterior of the cabinet with a
cleaner recommended for stainless steel surfaces.
Spray the cleaning agent on the cloth and wipe with the
grain of the stainless steel.
Always follow appropriate state or local health (hygiene)
regulations regarding all applicable cleaning and sanitation
requirements for equipment.
At no time should the inside or outside of the cabinet be washed
down, flooded with water or liquid solution.
CLEAN.
Severe damage or electrical hazard could result.
2. DO NOT USE THE OVEN IF THE CONTROLS ARE
NOT PROPERLY FUNCTIONING.
Refer to the Trouble Shooting Guide located in this
manual or call an authorized service technician.
3. CHECK OVERALL CONDITION OF THE OVEN
O N C E A M O N T H .
Check the oven once a month for physical damage
and loose screws. Correct any problems before they
begin to interfere with the operation of the oven.
4. CHECK THE COOLING FAN IN THE OVEN
C O N T R O L A R E A .
While the oven is warm, check that the cooling fan in
the oven control area is functioning. The fan is
located on the back of the unit, toward the top.
Cooking
Indicator
Cook
Oven Light
ON/OFF Switch
NEVER STEAM
