DLS CLASSICAMPENG03 Installeren en bedienen - Pagina 2
Blader online of download pdf Installeren en bedienen voor {categorie_naam} DLS CLASSICAMPENG03. DLS CLASSICAMPENG03 16 pagina's.
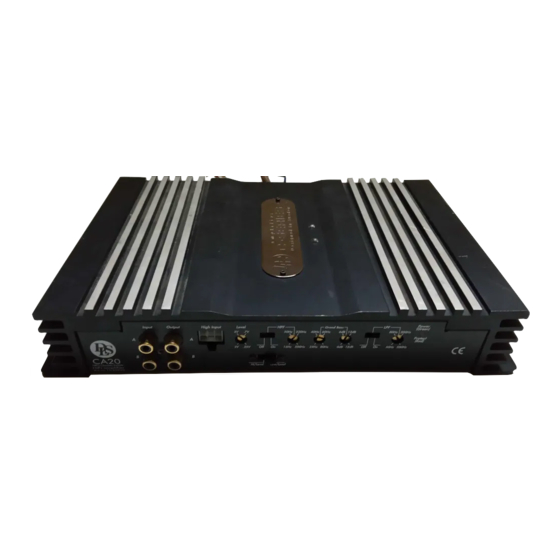
All models include
#
RCA inputs
#
High Level input
#
Continuos variable low pass and/or high pass
crossover
#
Bass boost feature (not on CA50)
#
Remote turn on / off
#
Automatic remote turn on/ off on high level
input without connecting any remote wire
#
Electronic protection circuitry against
short-circuit, DC offset and thermal overload.
Bridgeable design to direct full power to
one or two subwoofers etc.
Installation
Before you begin installation
Before you begin you need to read the manual, to have
some tools, cables and other material available. There
is one such list of material on the following page.
Amplifier location
Important
Allow air circulation around the amplifier.
The DLS Classic series of amplifiers have a
compact design that allows great flexibility in
mounting. You can mount it under a seat or in the
trunk.
When you select a location, do remember that the
amplifier generates a lot of heat.
Choose a location where air can circulate freely
around the amplifier. Do not cover the amplifier
with carpets or hide behind trim panels.
Do not mount the amplifier in an inverted or upside
down position.
Check all locations and placements carefully before
making any cuts, drilling any holes or making any
connections.
2
CA20
2 x 50 Watt RMS / 2 x 100 Watt peak
1x 170 Watt RMS / 1 x 300 Watt peak
CA21
2 x 100 Watt RMS / 2 x 200 Watt peak
1 x 350 Watt RMS / 1 x 600 Watt peak
CA40
4 x 50 Watt RMS / 4 x 100 Watt peak
2 x 170 Watt RMS / 2 x 300 Watt peak
CA50
4 x 50 Watt RMS / 4 x 100 Watt peak
2 x 150 Watt RMS / 2 x 200 Watt peak
1 x 150 Watt RMS on Sub channel
All above output power ratings in
four ohms stereo,respectively bridged
at 13,8 Volt ,max 0,1 resp. 0,2 % THD
Disconnect Battery
Before starting the instal-
lation, always disconnect
the negative terminal of
the battery.
CA20, 21, 40 & 50