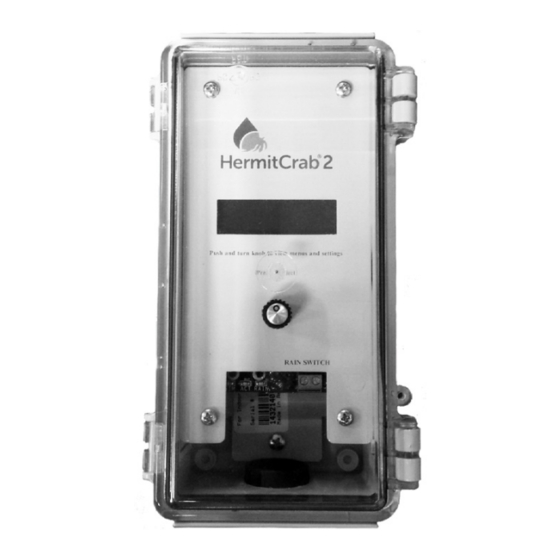
ET Water HermitCrab 2 Gebruikershandleiding voor installatie - Pagina 2
Blader online of download pdf Gebruikershandleiding voor installatie voor {categorie_naam} ET Water HermitCrab 2. ET Water HermitCrab 2 12 pagina's.

Contents
the HermitCrab communication cables
How It Works
1
Congratulations on becoming part of ETwater and taking a step towards sustainability.
3
ET Water Systems' HermitCrab automates your sprinkler and drip irrigation schedules by
transforming your current controller into a "smart controller," combining state-of-the-art horticultural science
6
with Web-based technology. Your HermitCrab will make a daily connection to the ET Water cloud service and
retrieve an irrigation schedule for each of the watering stations in your landscape. These daily schedules reflect
8
your local weather conditions and the ET value of your site so that you use only the amount of water necessary
to maintain a healthy landscape and reduce runoff.
8-17
For more information on the science of ET irrigation and how each of your schedules is generated, please visit
our website at www.etwater.com.
9-10
Step 1: Register your HermitCrab
10
Go to www.etwater.com, click "new user"
Follow the steps to register your controller.
11
If you have already created an account, log in and add your HermitCrab to an existing site or create a new site.
11
You'll need:
12
Your HermitCrab 10 digit serial number,
Serial number is displayed on the box, in the unit under the panel, and will be displayed when
12
you power on your device.
13
Enter serial number here: ___ ___ ___ ___ ___ ___ ___ ___ ___ ___
13
Contact information, including email address, for the person who will manage the irrigation
system.
14
Contact information, including email address, for the person responsible for paying future
14
data service fees, usually the property manager or owner.
15
The address and zip code where the controller will be installed.
15
Follow the on screen instructions to complete your registration.
16
Step 2: Configure your stations
16
You must enter the required landscape data for each of your watering zones. Click the "configure now" link on
17
the controller overview page, and select the "step-by-step" landscape set up process. The process asks you
to define your landscape in terms of sun exposure, soil type, slope, plant material, irrigation method, etc.
17
If you have watering zones with identical landscape profiles, you can use the "station copy" feature to copy
18-19
one zones profile to another zone.
19
Once you are familiar with the station configuration process, you can use the "Advanced Setup" mode to add
or edit your profiles. The Advanced Setup mode presents all the profile information in a single form with drop
19-20
down boxes from which to make your selections.
Page 1
