Egardia Extender Installatiehandleiding - Pagina 3
Blader online of download pdf Installatiehandleiding voor {categorie_naam} Egardia Extender. Egardia Extender 5 pagina's. Egardia extender installation guide

Please note! Each accessory
must first be registered with
the gateway before registering
with the extender.
Please note! Only register
accessories that are at a
critical distance from the
gateway. Accessories that are
well within the range of the
gateway should not be
registered with the extender.
INSTALLING THE EXTENDER
The installation process of the Egardia extender consists of four easy steps.
STEP 1.
CHECK CONTENTS
STEP 2.
ADD ACCESSORIES
STAP 3.
CHECK AND TEST
STAP 4.
MOUNT EXTENDER
For more information read the appendices:
Appendix A – Indicator lights extender
Appendix B – DIP switches extender
STEP 1: CHECK CONTENTS
Check the contents of the packaging for the following parts:
1.
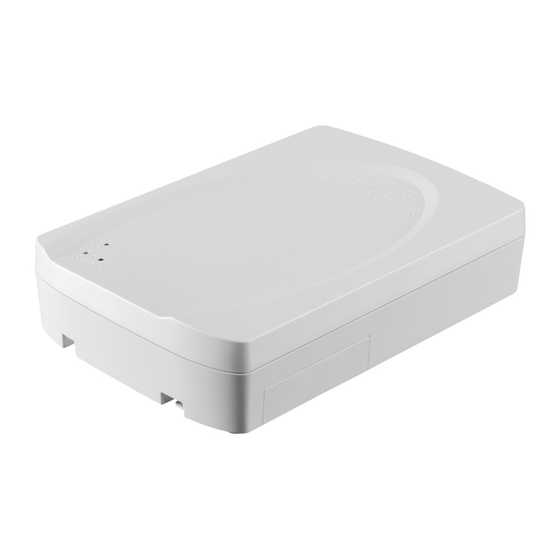
Extender with mounting rack
2.
Power adapter
3.
Bag containing screws and plugs
STEP 2: ADD TO ALARM SYSTEM
You are now about to register the Egardia accessories with your Egardia extender.
1.
Place the extender close to a socket or use a suitable 230V extension cord.
2.
Insert the small plug of the supplied power adapter into the power port of the extender.
3.
Connect the plug of the power adapter to the socket. The extender emits a long beep and the
green indicator light will glow. The yellow indicator light may glow for a few seconds to indicate
that the emergency battery is low.
4.
Remove the cover without an arrow at the backside of the extender.
5.
Switch the battery switch of the extender to "ON" and set DIP switch number 1 to "ON". The
red indicator light will glow to indicate that the extender is ready for installation. Wait 1 minute
before proceeding to step 7.
6.
Press the register button of each accessory that needs to be registered with the extender. The
extender emits a long beep and the green indicator light will flash once to indicate the
accessory is successfully registered. The extender beeps twice to indicate the accessory has
already been successfully registered.
7.
Set DIP switch number 1 to "OFF". The red indicator light extinguishes. The extender returns
to normal operation. Do not replace the cover yet.
Register a bell box
To register a bell box with the extender a different procedure applies.
1.
Place the extender close to a socket or use a suitable 230V extension cord.
2.
Insert the small plug of the supplied power adapter into the power port of the extender.
3.
Connect the plug of the power adapter to the socket. The extender emits a long beep and the
green indicator light will glow. The yellow indicator light may glow for a few seconds to indicate
that the emergency batteries are low.
4.
Remove the cover without an arrow at the backside of the extender.
2
CHECK THE CONTENTS OF THE BOX
REGISTER THE EGARDIA ACCESSORIES
WITH THE EXTENDER
CHECK AND TEST THE EXTENDER
DETERMINE THE LOCATION AND
MOUNT THE EXTENDER
