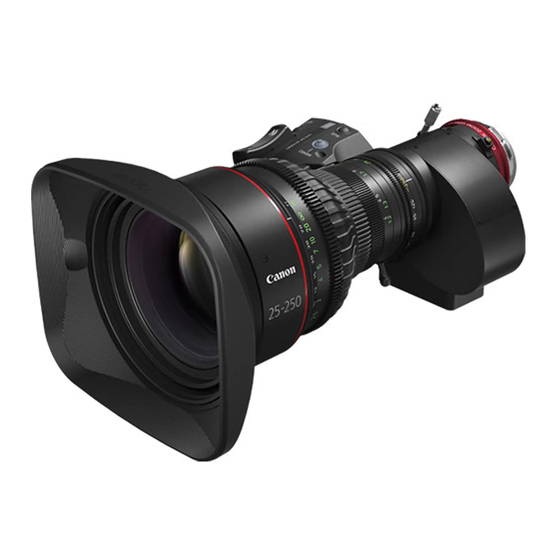
Canon CN10x25 IAS S/E1 Instrukcja obsługi - Strona 19
Przeglądaj online lub pobierz pdf Instrukcja obsługi dla Obiektyw kamery Canon CN10x25 IAS S/E1. Canon CN10x25 IAS S/E1 34 stron. Zoom lens

- 1. Fcc Regulations
- 2. General Safety Information
- 3. Handling the Product
- 4. Maintenance and Inspection
- 5. How to Mount
- 6. Available Accessories
- 7. Dimensions of Parts
- 8. Iris Gain Adjustment
- 9. Mode Setting
- 10. Zoom Operation
- 11. Focus Operation
- 12. Iris Operation
- 13. Extender Operation
- 14. Macro Operation
- 15. Switch Operations
- 16. Product Specifications
5-1-4. Zoom Track Function (only for servo zoom)
The zoom control range (zoom track) position can be set as desired to set the virtual zoom limit in the telephoto end
and the widest end. To use the zoom track function, the function should be enabled in advance.
A:Setting ON or OFF on the information display (In case of basic mode)
MENU
Fr1P
A
Shtl
A 1
Fr1P
A 2
For details on how to set each setting item, refer to "Information Display Manual" in the supplied CD-ROM.
B: Setting ON or OFF by operating the switches
Selection method
To set the
Hold down the MEMO
function to
switch and Instant auto-
ON
iris switch simultaneously
for at least 3 seconds.
To set the
The zoom range is set to
function to
the mechanical end.
OFF
Setting the Zoom Track Positions
Set the zoom track function to ON before setting the zoom track position.
Instant Auto-Iris Switch
MEMO Switch
NOTE
1.
If the zoom track position is to be set again, the zoom position cannot move beyond the end point set-
ting toward the mechanical end by performing servo zoom operations. To move the zoom, set the zoom
track function to OFF and take one of the steps below.
・ Proceed with the zooming operation at the setting established by operating the zoom rocker
seesaw.
・Perform the zooming operation manually.
2.
Although up to two zoom track positions (telephoto end and widest end) can be set, two positions cannot
be set that are on the same side of the center position of the zoom range of this lens. (In this case, the
setting that was made last is stored as the zoom track position of this side.)
1
2
IG: 50
[Adj]
[Trk]OFF
3
[I-Tq]H
4
The zoom control range is fixed to
the zoom range set last. (If there is
no previous setting, it is set to the
mechanical end point.)
The zoom range is set to the
mechanical end.
1
2
3
Press the DISPLAY switch to turn on the display.
Select [Trk] using the control key, and then press the Set key.
[Trk] and the last setting now blink on the display. (see left fig-
ure)
Press the left or right key to select ON or OFF.
Press the Set key. This completes the setting.
Operation
Zoom to the zoom track position that you want to set.
Keeping this zoom position, press the Instant Auto-Iris switch
while holding down the MEMO switch. If the zoom position is at
the telephoto end, the position is stored as the zoom track po-
sition for the telephoto limit. If position is at the widest end, it is
stored as the widest limit.
Repeat 1 and 2 to set both telephoto and widest limits. It is pos-
sible to set only one end. To change the setting, perform 1 to 3.
(The position set last overwrites the setting in the memory.)
E13
5 OPERATION
How to ascertain the selection
Automatic zooming from current
zoom position to the closer of the
two set positions.
Automatic zooming from current
zoom position to the closer of
the two mechanical ends.
