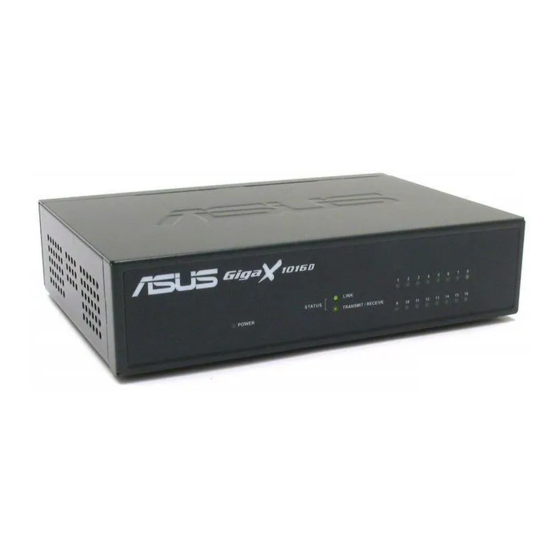
Asus GigaX 1016D Instrukcja szybkiej instalacji - Strona 3
Przeglądaj online lub pobierz pdf Instrukcja szybkiej instalacji dla Router sieciowy Asus GigaX 1016D. Asus GigaX 1016D 4 stron. Desktop fast ethernet switch

Rear panel
Placement options
Placing the switch on a flat surface
Place the switch on a flat surface that can support the weight of the switch and its
accessories. Make sure the surface meets the operating environment specifications.
NOTE: The length of the UTP Category 5 cable should not exceed 100 meters.
Connecting Network Devices
To connect network devices to the GigaX 1016D switch.
1. Connect one end of the Ethernet cable to an Ethernet port on the back of
the switch. Connect the other end to the Ethernet port on the network
device. Repeat this step to connect additional network devices.
Note:Use Category 5 Ethernet straight-through cables to ensure proper connection between
the switch and the other network devices.
Note: The Ethernet ports on the switch may be used as uplink ports to other switches, hubs,
bridges, or repeater. The switch is capable of detecting and adjusting either cross-over or
straight-through cables.
2. Plug the AC adaptor to an electrical outlet, then plug the other end to the
power connector on the back of the switch.
3. The power indicator and active port indicators will light up indicating
that the device is turned ON and in use.
RJ-45 Ethernet
Connectors
ASUS GigaX 1016D
AC IN
AC Power Input
3
