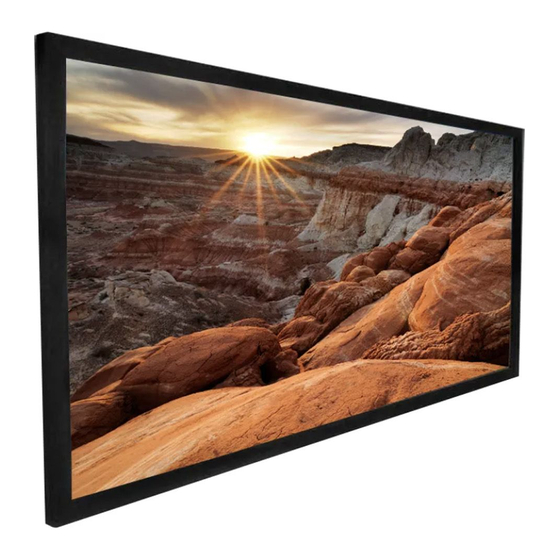
Dragonfly Ultra Acoustiweave Instrukcja instalacji - Strona 5
Przeglądaj online lub pobierz pdf Instrukcja instalacji dla Ekran projekcyjny Dragonfly Ultra Acoustiweave. Dragonfly Ultra Acoustiweave 8 stron. Thin-bezel fixed projection screens

Fixed Projection Screen Manual
Installation Tips
Take care to pull material evenly before installing the
If waves/wrinkles are present, it may be necessary to
remove the bezel and pull the material tightly before
reattaching the bezel.
Refer to the image to the right for the best practice for
smoothing wrinkles that may be present.
Step 7. Attach and Install the Mounting
Brackets
A. Loosely secure the two mounting brackets to the sliding
nuts in the top frame using the M5 x 8mm screws. The
brackets should just be able to slide left and right.
B. Loosely secure the circular metal half of the magnets to
the lower frame, do not tighten the screws completely,
the brackets should just be able to slide left and right.
Step 8. Hang the Screen
A. Measure the overall Length and height of the screen frame.
B. For Drywall: Drill 4 holes in the wall at the desired height.
The distance of the horizontal holes should be about 2/3
the width of the frame, and the vertical distance of the holes
should be the height of the frame minus 4⅛" (105 mm).
⅔A
B-105
C. For Concrete: Drive the concrete anchors into the holes
drilled in Step B. Drive 2
anchors leaving 5mm to hang the screen. Install the lower
2 magnet pieces using 2 M5x50mm magnet screws. Hang
the screen on the upper brackets and attach the lower part
of the frame to the wall with the magnets.
© 2018 Dragonfly
bezels.
into the concrete
M5x50mm Screws
Hold in center
Smooth material
towards corners
A
B
5mm
5
C
Upper
Lower
181015-1400
