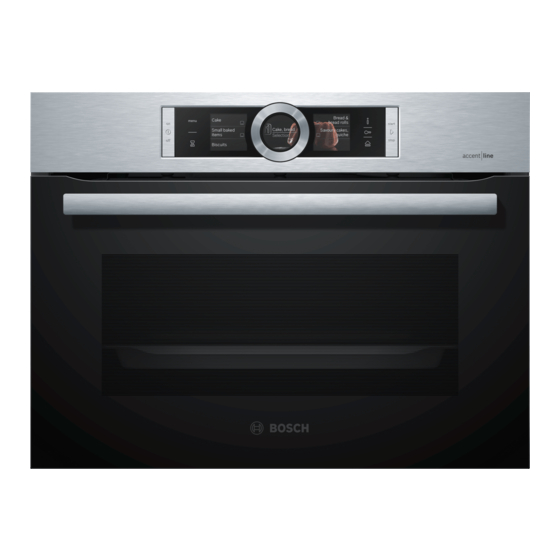
Bosch CSG856N 1 Series Podręcznik użytkownika i instrukcje instalacji - Strona 13
Przeglądaj online lub pobierz pdf Podręcznik użytkownika i instrukcje instalacji dla Piekarnik Bosch CSG856N 1 Series. Bosch CSG856N 1 Series 48 stron.

To adjust the appliance to a new installation location
after moving house, reset the basic settings to the fact-
ory settings. Carry out the procedures for initial start-up
and calibration again.
8 Basic operation
8.1 Switching on the appliance
Press
to switch the appliance on.
▶
a The Bosch logo appears in the display. The types of
heating then appear.
8.2 Switching off the appliance
Switch your appliance off when you are not using it.
The appliance will switch itself off automatically if it is
not used for a certain period of time.
Press
to switch the appliance off.
▶
a The appliance switches off. Any functions currently
in progress are cancelled.
a The time or residual heat indicator appears in the
display.
8.3 Starting operation
You must start each operation.
ATTENTION!
If there is water on the cooking compartment floor
when operating the appliance at temperatures above
120 °C, this will damage the enamel.
Do not use the appliance if there is water on the
▶
cooking compartment floor.
Wipe away any water on the cooking compartment
▶
floor before operation.
Press to start.
▶
a The settings, the running time, the display ring and
the heating line appear in the display.
8.4 Pausing or cancelling operation
You can briefly pause operation and then continue. If
you cancel operation completely, the settings will be re-
set.
To pause operation briefly:
1.
Briefly press .
‒
To continue operation, press .
‒
To cancel operation completely, press and hold
2.
for approx. 3 seconds.
a Operation will stop and all the settings will be reset.
8.5 Setting the operating mode
Once you have switched on the appliance, it suggests
an operating mode, e.g. types of heating.
If you want to use a different operating mode to the
1.
one suggested, press
a The list of operating modes is displayed.
→ "Operating modes", Page 8
Press the operating mode that you want to use.
2.
To implement other settings, press the relevant text
3.
fields.
.
Use the control ring to change the values.
4.
Press to start.
5.
8.6 Setting the type of heating and
temperature
Requirement: The operating mode "Types of heating"
has been selected.
Press the type of heating that you want to use.
1.
If you cannot see the type of heating in the touch
displays, use the control ring to scroll though the se-
lection list.
a The temperature is highlighted in white.
Use the control ring to set the temperature.
2.
Press to start.
3.
a The appliance starts heating.
a The target temperature, the time and how long the
appliance has already been in operation are shown
in the display.
When the food is ready, press
4.
ance off.
Tip: The most suitable type of heating for your food
can be found in the description of the type of heating.
Note: You can also set a cooking time and end time on
the appliance.
→ "Time-setting options", Page 14
Changing the type of heating
When you change the type of heating, the other set-
tings will also be reset.
Press to pause operation.
1.
Press "Types of heating".
2.
Press the type of heating that you want to use.
3.
a The corresponding default temperature appears in
the display.
Changing the temperature
Once operation has started, you can change the tem-
perature directly.
Use the control ring to change the temperature.
▶
a The temperature is applied immediately.
8.7 Displaying information
In most cases, you can call up information about the
function that you have just started. The appliance dis-
plays some information, e.g. to ask you to do/confirm
something or to issue a warning, automatically.
Press .
1.
a If available, information is displayed for a few
seconds.
Use the control ring to scroll through longer pas-
2.
sages of text.
Basic operation en
to switch the appli-
13
