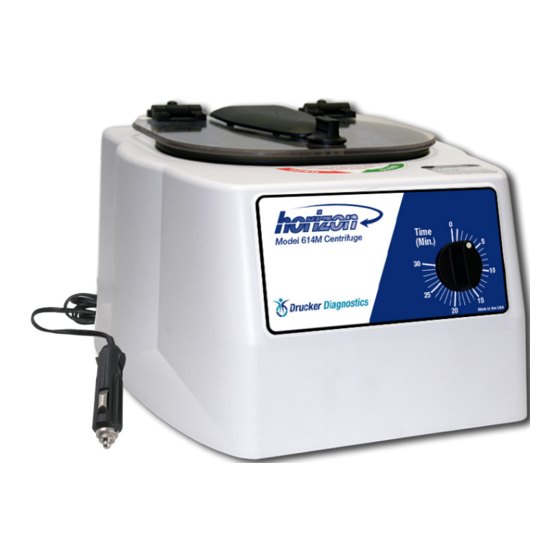
Drucker Diagnostics 614M Instrukcja obsługi - Strona 7
Przeglądaj online lub pobierz pdf Instrukcja obsługi dla Sprzęt laboratoryjny Drucker Diagnostics 614M. Drucker Diagnostics 614M 12 stron. 12vdc mobile labaratory centrifuge

Installation and Removal of the Rotor:
a)
The rotor is secured with a single nut, visible with the lid open. The nut is
located in the center of the rotor.
b)
Use a 1/2" nut driver to loosen the nut (turn counter-clockwise).
c)
Lift the rotor straight up and out of the rotor chamber.
To install the rotor, reverse steps A and B above.
d)
Take care to align the hub splines with the rotor hub.
e)
Tighten the rotor nut by hand with a ½" nut driver until snug. One full
thread showing above the nut is a good indicator of proper installation.
Care and Preventative Maintenance:
With proper care and maintenance your centrifuge will provide years of laboratory
service. For proper care, the following steps should be taken:
Provide Adequate Ventilation: For cooling purposes, the Model 614M draws in
1.
ambient air through the air intake cover on the top of the lid and exhausts
this air in the rear of the base. The centrifuge should be placed on a hard
smooth surface for good air circulation.
2.
Always Spin Balanced Loads: Make certain that you are always spinning a
balanced load. The Model 614M has been designed to provide excellent
vibration dampening. However, out–of–balance loads may break
glass test tubes and may produce unsatisfactory separation results.
Proper load balancing will improve sample separation and extend the life of
the centrifuge.Use the following rules when loading the rotor.
a)
Centrifuging balanced loads will extend the life of the centrifuge and
produce better results.
b)
Opposing tube holders must be identical and must contain the same
cushion or none at all.
c)
Opposing tube holders must be empty or loaded with equally weighted
samples.
d)
If an odd number of samples is to be spun, fill a tube with water to match
the weight of the unpaired sample and place it across from this sample.
3.
Keep the Tube Holders Clean: NOTE: Always follow the safety guidelines of
your laboratory to properly clean up and/or dispose of materials in the event
that a substance known to be potentially toxic, radioactive or contaminated
with a pathogenic microorganism is spilt in or on the centrifuge. Small glass
fragments left in the tube holder after a tube breakage may adhere to
the next test tube inserted in that holder. When this tube is handled, these
fragments may puncture protective gloves and lacerate the operator's
fingers or hand. Remaining fragments may provide stress points on
subsequent tubes and result in additional breakage. If a tube breakage
occurs, carefully remove the tube holder. Properly dispose of the sample
and tube fragments and thoroughly clean both the inside and outside of the
tube holder. Insert a new tube cushion (if necessary) and replace the tube
holder in the rotor.
Page 7
