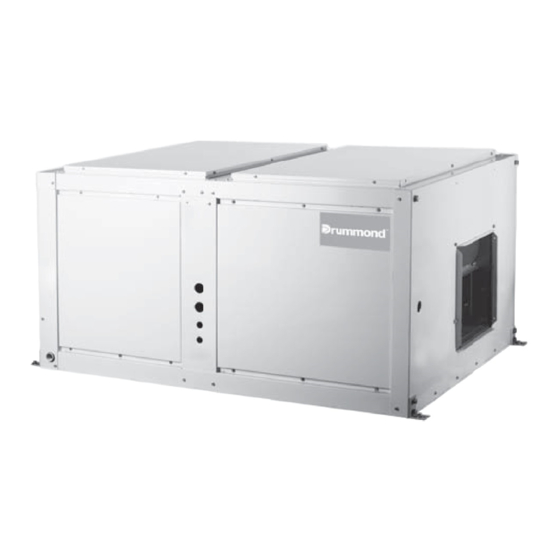
Drummond MOV-90CN1-D Instrukcja instalacji - Strona 4
Przeglądaj online lub pobierz pdf Instrukcja instalacji dla Klimatyzator Drummond MOV-90CN1-D. Drummond MOV-90CN1-D 16 stron. Split system cooling only, r-410a refrigerant
Również dla Drummond MOV-90CN1-D: Instrukcja obsługi (11 strony)

3.2 Install
10 or bigger Pendant Bolts Or
Ground Bolts
Pendant bolt hole
4-12×25
Air inlet side
MVA-90CWN1-V MVA-120CWN1-V (Unit:mm)
Use
10 or bigger screws. The screw material is high-quality
carbon steel (whose surface is zinc plated or undergoes other
rustproof treatment) or stainless steel.
The treatment of the ceiling varies between buildings. For
detailed measures, consult with the fitting-out staff.
Fix the pendant bolts firmly and reliably in light of the specific
situation.
Installation of the pendant bolt in different environments.
A. Wooden structure
Put rectanglar sticks across the beams, and set pendant bolts.
Wooden span
Pendant bolt
B. New concrete roughcast
Use embedded bolts, embedded pulling plugs, and embedded
stick harness.
Embedded bolt
Pipe pendant embedded bolt
C. New concrete roughcast
Set it with embedded bushes or embedded bolts.
Blade plug-in unit
Fig.3-3
Fig.3-4
Beam
Ceiling
Fig.3-5
Steel bar
Fig.3-6
Slide plug-in unit
Fig.3-7
D. Steel beam and girder structure
Set and use supportive angle steel.
Suspended bolt
Pendant bolt
3.3 Suspending The Indoor Unit
Use a hoisting device to hoist the indoor unit, align it with the
installation screw, adjust the horizontality and then tighten it.
Unit body
3.4 Design And Connection Of Duct
The duct design must comply with the national heating air
conditioner pipeline design specifications.
The duct accessories and materials must be produced by
professional manufacturers.
In order to prevent air flow shorting, do not keep the air inlet pipe
near the air outlet pipe.
Install a filter at an easy-to-maintain place such as intake pipe.
(Otherwise, the duct will gather on the air heat exchanger and
lead to fault and water leak of the air conditioner.)
In order to suppress noise effectively, install noise suppression
and sound insulation devices, especially in the noise-sensitive
spaces such as meeting rooms.
For connection of the flange plane, use non-flammable canvas
adapter to prevent transmission of vibration. For its size, see the
indoor unit outline diagram. Use M6X20 screws (configured on
site) for connection.
All pipelines must be connected closely and soundly without
leak of air. The pipelines must be adiabatic and free from
condensation.
Key points of duct connection
Canvas adapter Canvas adapter
Air outlet
Noise
Inspection
suppression chamber
Supportive
angle steel
Fig.3-8
Pendant bolt
Fig.3-9
Noise suppression chamber
Air inlet
Air filter
orifice
Fig.3-10
Installation Manual
3
