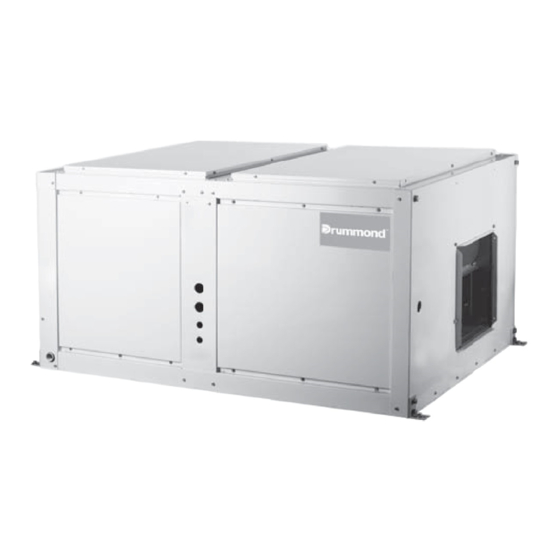
Drummond MOV-90CN1-D Instrukcja instalacji - Strona 5
Przeglądaj online lub pobierz pdf Instrukcja instalacji dla Klimatyzator Drummond MOV-90CN1-D. Drummond MOV-90CN1-D 16 stron. Split system cooling only, r-410a refrigerant
Również dla Drummond MOV-90CN1-D: Instrukcja obsługi (11 strony)

3.5 Install the condensate drainpipe
1. Install the indoor unit drainpipe
Two drain couplings are provided on alll models.select either one
for condensate outlet and plug the other.
consult local codes or ordinances for specific requirement regarding
condensate drain.
condensate drain is open to atmosphere and must be trapped. trap
must be at least 3 inches deep and made of flexible material or
fabricated to prevent freeze-up.
if air handler is installed in a non-conditioned space,it is
recommended an auxillary drain pan be fabricated and installed
under entire unit.
Do not reduce the drain line size from the connection size provided
on the unit.
Install a drain stream trap in the drainpipe to prevent water from
overflowing. (The drainpipe absorbs the odor. When the outside
static pressure is high (especially the air inlet),it is difficult to drain
the water.)
Drainage should be natural. When constructing, the outside pipe of
outdoor unit should be inclined (1/50~1/100).
The bending part of drainpipe should be fewer than 2. Furthermore,
to reduce the depositing dust, avoid bending the pipe as possible as
you can.
Make sure there is no dust or rubbish falling into indoor unit drain
elbow and drainpipe.
After installation, remove the checking panel, pour some water in the
drain elbow to see whether it drains smoothly.
Checking panel
Drain pipe
Sheath
(Checking orifice
General drain pipe
CAUTION
Rubbish is easy to accumulate at drain stream trap. Make sure
to install a plug or other things which is easy to clean.
Unit must be slightly inclined toward drain,
Use drain connection size or larger,
Do not operate unit without trap
2. Test draining
Open the clapboard of indoor unit, pour the water in to see whether it
drain smoothly and whether there is water leakage.
3. Heat insulation
After confirming that drainage is smoothly and there is no leakage,
wrap the drainpipe with insulation material, or there will be
condensed water.
Installation Manual
4
Checking panel
Sheath
(Checking orifice)
Fig.3-11
3.6 Dimension Unit:mm
MVA-90CWN1-V
MVA-120CWN1-V
Front view (Air supply outlet)
3/4"NPT FEMALE
Side view (Pipes)
Rear view (Air return vent)
3.7 Field Installed Mixing Box Accessory
Fig.3-12
Fig.3-13
Fig.3-14
Fig.3-15
Fig.3-16
