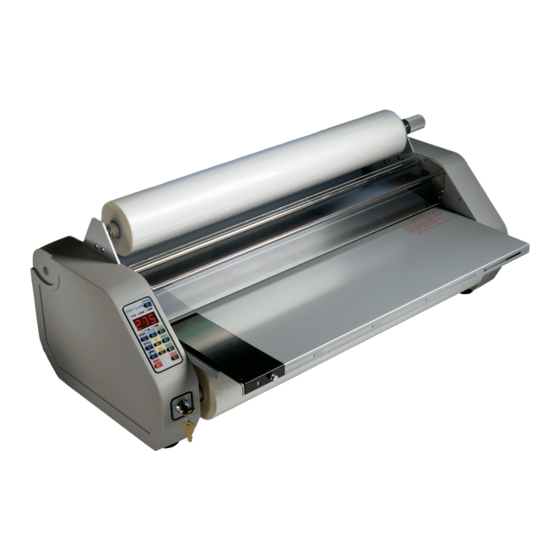
Dry-Lam 27" Instrukcja obsługi - Strona 5
Przeglądaj online lub pobierz pdf Instrukcja obsługi dla Laminator Dry-Lam 27". Dry-Lam 27" 15 stron. School & office laminators

Shut the machine off! Dry-Lam Laminators have set screws at both ends of each laminating and
pull roller. Loosen all four set screws on the pull rollers. Cut the plastic between the laminating and
pull rollers, grab the loose end and pull. The rollers will rotate freely on the roll shafts and the "wrap-
around" will easily unwrap. Tighten all the set screws and rethread the film.
Appendix A
Replacing the hand held Cutter Blades.
If additional cutters (item #907002) or cutter
blades (item #707002) are needed, they may
be obtained from Dry-Lam.
The hand held cutter blade can be replaced by
removing the small screw (item #600781) on
the back of the cutter, then removing the cutter
back (item #707003). Caution: The cutter
blade is extremely sharp. Please handle
carefully and dispose of properly. Remove
and discard the old blade. Re-install cutter
back and screw. Caution: Do not over
tighten screw.
Appendix B
Footswitch Installation
A footswitch (item #802054) may be obtained
from Dry-Lam or an Authorized Dry-Lam
Reseller.
Plug the footswitch into the plug on the rear of
the machine. Motor operation is now started
and stopped by depressing the footswitch.
19
Dry-Lam Laminator
Instruction Manual
Section Index
General Diagrams....................................................................1,2
I. Unpacking...............................................................................3
II. Information About Laminating Film.......................................3
III. Operating
A. Control Panel.................................................................3
B. Loading Film: 1" Mandrel.............................................5
C. Threading Film.............................................................14
D. Laminating....................................................................15
E. Supply Roll Tension Adjustment.................................15
IV. Options
A. Footswitch..................................................................16
B. Slitter Kit....................................................................16
V. Maintaining the Dry-Lam Laminator
A. Care and Cleaning.......................................................17
B. Specific Troubleshooting Guide..................................18
C. Removing a Wrap Around...........................................18
Appendix A
Replacing the Hand Held Cutter Blades...........................19
Appendix B
Footswitch Installation....................................................19
Appendix C
Installing the Slitter Kit....................................................20
Wiring Diagrams..................................................................6,7,8
Exploded Diagram................................................................9,10
Parts Lists.......................................................................11,12,13
iii
