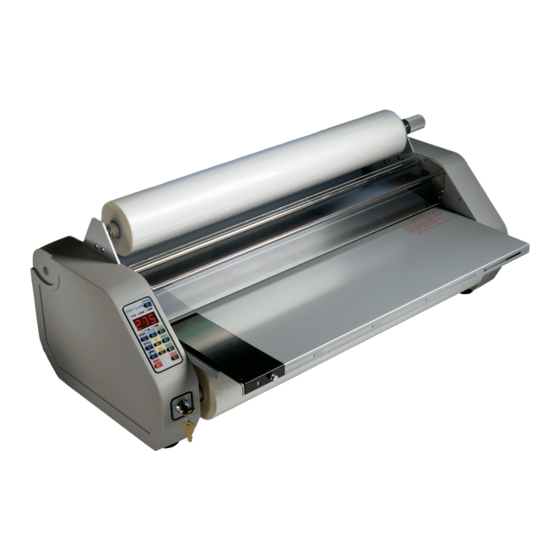
Dry-Lam 27" Instrukcja obsługi - Strona 4
Przeglądaj online lub pobierz pdf Instrukcja obsługi dla Laminator Dry-Lam 27". Dry-Lam 27" 15 stron. School & office laminators

Notes
ii
Appendix C
Installing the Slitter Kit
A slitter kit ,(item #202005 25" kit),(item # 202000 27" kit) may be obtained from an Autho-
rized Dry-Lam Reseller.
Before installation, please check contents of your kit.
Unplug the laminator prior to installation.
Caution: Do not install kit if Heatshoe is hot!
1) Molded on the back of the Mounting
Bracket are two pins. These pins fit into the
rivet heads. (See Figure 1) Hold the Mount-
ing Bracket in place with the pins in the rivet
heads. Mounting bracket holes will be lined
up with the sidepanel holes. Secure with
screws provided. Repeat on other side.
2) Take the thumb screws and screw one
into each of the slitter bar locking blocks and
slitter assemblies. Do not tighten the thumb
screws - only start them at this point.
3) Take the slitter bar and slide on one lock-
ing block, both slitters, and then the other
locking block. Be sure the thumb screws
are all on top, and both slitter edges are fac-
ing the front of the laminator. (See Figure
2) Adjust slitters to cut where you wish and
tighten the thumb screws. Remove protec-
tive coating from slitter blades.
4) Drop slitter into the mounting brackets
and press slitters through laminating film.
Once slitter bar is in place, slide each lock-
ing block out until it contacts the mounting
brackets, tighten the thumb screws.
FIGURE 1
SIDEPANEL
HEATSHOE
RIVET HEADS
MOUNTING
BRACKET
FIGURE 2
SLITTER BAR
THUMB
SCREW
SLITTERS
LOCKING BLOCK
20
