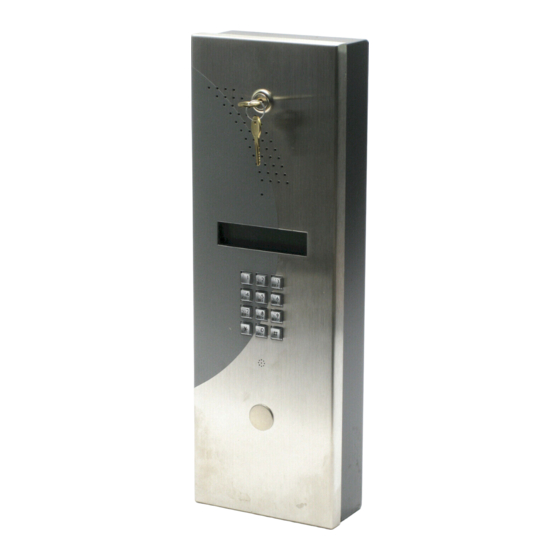
DSC MAXSYS PC4850 Instrukcja instalacji - Strona 7
Przeglądaj online lub pobierz pdf Instrukcja instalacji dla Jednostka sterująca DSC MAXSYS PC4850. DSC MAXSYS PC4850 16 stron. Telephone entry module

DC (Silent) Door Strikes
If you will be connecting DC door strikes, follow the dia-
gram below:
2.6 Connecting Magnetic Locks
If you will be connecting magnetic locks, follow the dia-
gram below:
Follow the manufacturer's instructions when connecting
the magnetic locks to the PC4850.
2.7 Connecting the Telephone Line
If the PC4850 will be using an incoming
telephone line to call tenants, connect the
line from the telephone company as
shown. If you will be using the existing
telephone lines in the building and the
No Bill option, you do not need to con-
nect the PC4850 to an incoming tele-
phone line.
NOTE: We recommend that you do not connect a
telephone to the incoming telephone line used by the
PC4850, as the security of the system may be reduced.
If an external telephone is connected to this line, do
not attempt outgoing telephone calls when no dial
tone is present, as the line is being used by the
PC4850.
2.8 Connecting the PC4850 to a
PC4851 (No Bill Option)
If you will be using the No Bill option in
the installation, connect the PC4850 to the
relay card in the main cabinet of the
PC4851, as shown. To install the main cab-
inet of the PC4851, follow the instructions
in the PC4851 Installation Manual. See also
section "Using the No Bill Option" on
page 7.
Note: This option has not been verified
by UL.
Use AWG#18
Do not connect transformer to
a receptacle controlled by a
switch. For North America,
use a UL/CSA Listed Class2,
16V
, 40VA transformer
AC
NB1 NB2
PC4851
Relay Board
Jack 1
2.9 Connecting the Combus
The Combus is used by the Maxsys control panel and the
modules to communicate with each other. The four Com-
bus terminals of the main panel must be connected to the
four Combus terminals or wires of all modules.
When wiring the Combus, the fol-
lowing conditions apply:
• Combus should be run in mini-
mum 22 gauge quad (0.5mm),
two pair twist preferred
• the PC4850 units can be home-
run, connected in series or can be
T-tapped
• each PC4850 unit should not be
more than 1,000'/305m (in wire length) from the panel
• shielded wire is not necessary unless wires are run in an
area that may present excessive RF noise or interference.
• cables greater than 2m in length must be rated VW1,
FT1 or better.
Example of Combus Wiring
PC4850 (B) is wired correctly as it is
within 1,000'/305m of the PC4020 (A),
in wire distance
PC4850 (C) is NOT wired correctly as it
is further than 1,000'/305m from the
PC4020 (A), in wire distance.
See your PC4020 Installation Manual for complete Com-
bus wiring instructions.
2.10 Connecting More Than One PC4850
You can connect up to 16 PC4850
modules to one PC4020 system. All
modules are connected to the same
incoming telephone line. As well as
connecting each module to the main
panel through the Combus, you must
also connect the modules to each
other through the MUBL terminal, as
shown.
2.11 Connecting a PC4850 with a PC4820
Installed on the Same Door
If the PC4850 will be installed on the same door as a
PC4820 Access Control module, connect the PC4820 REX
output to the PC4850 terminals, as shown.
AC3
L5
PC4850
Telephone
Entry Module
NOEOL
PC4820
Access
Control Module
C REX
Note: This option has not been verified by UL.
Note: In this configuration, do not connect door
power (AC or DC).
AC3
L2
PC4850
Telephone
Entry Module
5k6
SEOL
or
DEOL
PC4820
Access
Control Module
C REX
3
