DSE DK-WP2 Instrukcja obsługi - Strona 3
Przeglądaj online lub pobierz pdf Instrukcja obsługi dla Kamera bezpieczeństwa DSE DK-WP2. DSE DK-WP2 4 stron. Camera and vcr in wall clock

OWNER'S MANUAL
reader for SD card (not supplied).
We must shut down the DVR with the A button, remove the micro SD card and insert it into an SD
card reader to the computer.
The device is detected in the computer's resources as a removable disk and behaves like a
common USB stick. Depending on your operating system you may start an automatic procedure,
or you'll have to explore your PC to find the new disc.
And 'possible to copy movies on your PC and play them back with any video player
(recommended VLC - VideoLAN).
E 'can play video files directly from the SD card, without copying them to your PC, but may affect
the sound quality and flow of play so it is recommended only to preview, and then download to
your PC the relevant files .
Connect the DVR to a monitor
The DVR is equipped with a video output to connect an analog monitor. IS'
minijack / RCA. You can connect a monitor with analog input or analog AV input of a TV. To
connect the monitor you must first take care to turn off the DVR with the button A. The LED will
flash 3 times quickly to confirm the shutdown. Then connect the monitor and press the button to
start the DVR.
The live camera image appears on the screen. the icons
in
overlay
unit.
In this condition you can also record you take pictures with the usual buttons.
programmable Options
Through the TV monitor connected to the video output of DVR you can access the OSD menu
that allows many programs. To open the OSD menu, press the remote control E (MENU button).
In the menu you can move with the arrow keys and the OK button.
provided the adapter cable
show
the
DSE srl - Digital Surveillance Equipment - www.dse.eu
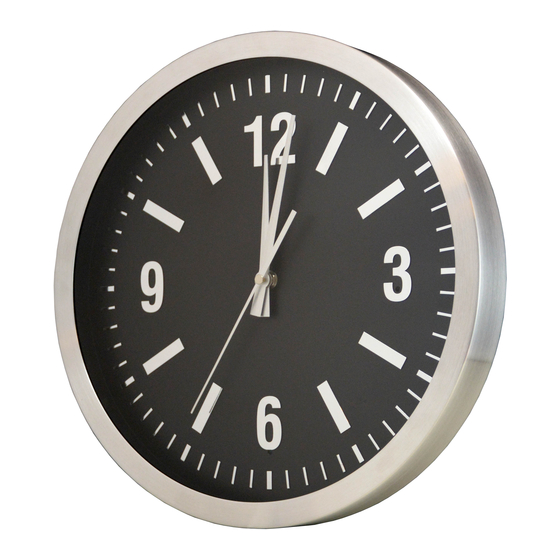
DK-WP2 camera with VCR in wall clock
RESOLUTION - Set the recording resolution. The factory is set to 1080P (Full HD 1920x1080)
but you can also choose the resolution, 720P and 480P if you want to increase the video archive
ability. It 'also available in 720P resolution 60 f / sec to better capture even fast-moving images.
TIME STAMP - E 'can decide whether to superimpose the shooting date and time, only the date
or even nothing. LOOP RECORD - Defines how to act the DVR once filled the memory card.
Leaving this set to ON, the DVR will continue recording over the oldest files while choosing OFF
stop recording.
VIDEO TIME - Sets the duration of the video files in continuous recording (1-3-5 minutes) AUDIO
RECORD - Set whether or not to record audio along with the video EV - Adjusts the exposure by
plus or minus depending on shooting
MOTION DETECTION - Adjusts the sensitivity of the motion detection (3 levels)
SETUP - Here you set various general parameters
state
FORMAT - Format the SD card and delete all the data it contains. This step is not necessary to
record to the SD card.
LANGUAGE - Allows you to choose the menu language. TV OUTPUT - Selects the TV video
output format (NTSC or PAL in Europe)
LIGHT FREQ - Selects the video output frequency 50 / 60Hz
DATE FORMAT - Defines the date format. Normally in Italy DD / MM / YY
Document: DK-WP2-1I6
Document: DK-WP2-1I6
Document: DK-WP2-1I6
Page: 3
Page: 3
