Duplo DB-200 Instrukcja obsługi - Strona 16
Przeglądaj online lub pobierz pdf Instrukcja obsługi dla Bindownica Duplo DB-200. Duplo DB-200 18 stron. Perfect binder

(G) NIPPING PRESSURE CONTROL :
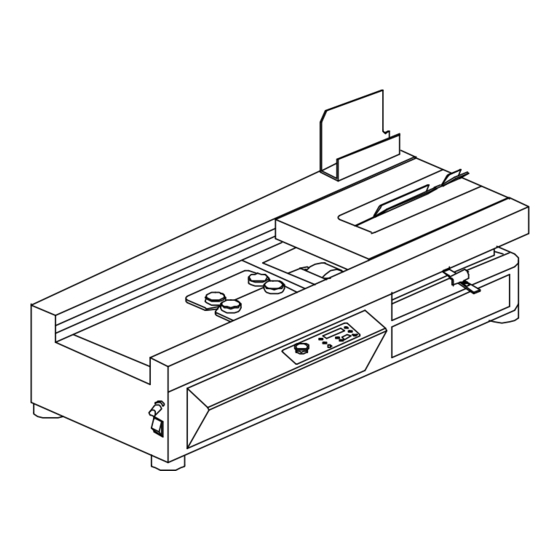
The nipping pressure control knob is
located on the left-side of the machine
(next to the power switch). It allows you to
adjust the nipping pressure based on the
thickness of the books and the quality of
the book spine. Normally the thinner the
books, the more the nipping pressure. The
factory setting is set to the mark on the
scale.
• Turn the knob clockwise to increase the nipping pressure when
round spine occurs
• Turn the knob counter clockwise to decrease the nipping pressure when
nail head spine occurs
(H) REPLENISHING THE GLUE TANK :
CAUTION: Great care must be taken when handling hot molten glue.
Be sure not to place an excessive amount of glue in the tank at one time. Keep it at such a
level that the glue will not go over the Max. line in the tank while the application drum is
rotating. This will prevent glue from spilling out of the tank.
Glue Replacement
WARNING: Do not attempt to remove the draining tray until the glue cools down.
1. Warm up the DB-250 as described in the STARTUP section on page 5.
2. Make sure the draining tray is covered by Aluminum foil and positioned underneath the
glue tank so that the glue drains into it.
3. Use the 6 mm Allen wrench to open (Counter Clockwise) the glue drain plug, which is
located on top of the glue tank.
4. Close (Clockwise) the glue drain Allen screw when the glue stops flowing.
Wait till the draining tray cools down. Carefully empty the draining tray and put a new
Aluminum foil on it. Reposition tray and continue draining the glue tank.
5. Fill the glue tank with new glue up to the Max. line.
6. Remove the glue drain tray and discard the cold drained glue.
or making thinner books.
or making thicker books.
13
