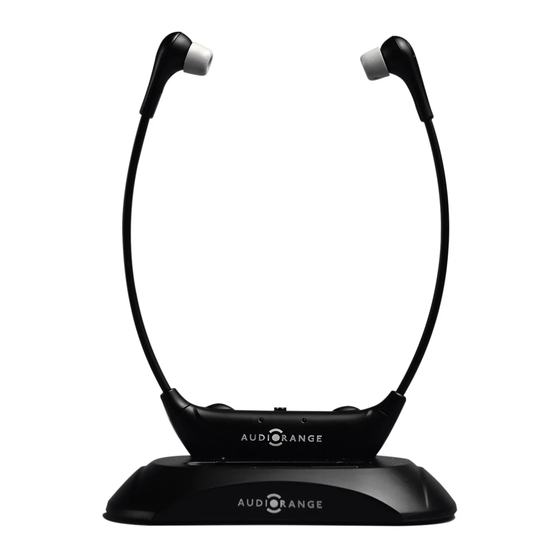
AudioRange ITE-1000 Instrukcja łatwej konfiguracji - Strona 2
Przeglądaj online lub pobierz pdf Instrukcja łatwej konfiguracji dla Zestawy słuchawkowe AudioRange ITE-1000. AudioRange ITE-1000 10 stron. In-ear tv headset

Important Safety Instructions
Please read these safety instructions carefully before using your the Audiorange ITE-1000
WARNING: Consult your doctor or physician if you have a pacemaker before using
This device is intended for home and personal use only.
Keep the device dry and away from water. Water may damage the device.
Keep headset and accessories out of reach of pets and children.
The headset uses a lithium ion battery. Do not burn or place used batteries/device in
household trash.
Do not pull on cord to unplug this device, doing so may damage the cord.
Device should not be used if damaged or malfunctioning.
Make sure device is unplugged when cleaning.
Consult your doctor or physician when using this device around medical equipment
such as a pacemaker.
TIP: This device can caused fatigue with prolonged use. If fatigue occurs, headset can be
worn behind the head with headset body resting on your neck.
Installation using
ANALOG Outputs
STEP 1a:
Watch this video:
audiorange.com/ite1000-setup1
Turn on TV
Option 1: Plug the red/white
RCA cables into the matching
ports on the TV. Then plug the
3.5mm end into the dock.
Option 2: Plug 3.5mm cable
into the Audio Out/Headphone
connection on TV, Then plug the
other end to the dock.
Once the desired connection
is made, proceed to STEP 2
TV
TV
OR
BACK OF DOCK
Set-up Preparations
Plug AC adapter into transmitter and
place headphones on dock.
An alternating red and blue blinking left
light on the base will indicate that the
headset is charging. When it becomes
only a blue blinking light, the headset has
completed charging
Installation using
DIGITAL Outputs
STEP 1b:
Watch this video:
audiorange.com/ite1000-setup2
Turn on TV.
Plug the optical cable* into the
TV and dock.
*Remove plastic protective tips
at ends of cord.
Once the Optical Cable is
plugged in, proceed to STEP 2
Locate Audio Connections on the
back or side of your TV.
TV
ATTENTION: Connections must be labeled
OUT, AUDIO OUT, or HEADPHONE
If you are using RCA
connections please start with
STEP 1a.
If you are using the 3.5mm
headphone connection please
start with
STEP 1a.
If you are using Optical
connection please start
with
STEP 1b.
TV
BACK OF DOCK
