AudioRange ITE-1000 Instrukcja łatwej konfiguracji - Strona 3
Przeglądaj online lub pobierz pdf Instrukcja łatwej konfiguracji dla Zestawy słuchawkowe AudioRange ITE-1000. AudioRange ITE-1000 10 stron. In-ear tv headset

STEP 2
Turn on dock by sliding the switch, located on the back of the dock, into the
mono or stereo position
BACK OF DOCK
BACK OF DOCK
STEP 4
You have successfully setup your Audiorange ITE-1000.
If you cannot hear any sound:
Watch this video:
audiorange.com/ite1000-no-sound
Increase the volume on your headphone
Increase the volume on the TV
If you followed Step 1a, check that your TV's audio
settings are set to "Analog Audio Out (Fixed)"
If you followed Step 1b, check that your TV's audio
format is set to "PCM"
Check that your TV's audio settings are set to
external speaker
From Step 1a
Analog Audio Out (Variable)
Analog Audio Out (Fixed)
IMPORTANT: If you cannot
access your TV's audio
settings, please refer to your
TV manual for help.
From Step 1b
BitStream
PCM
Dolby
DTS
STEP 3
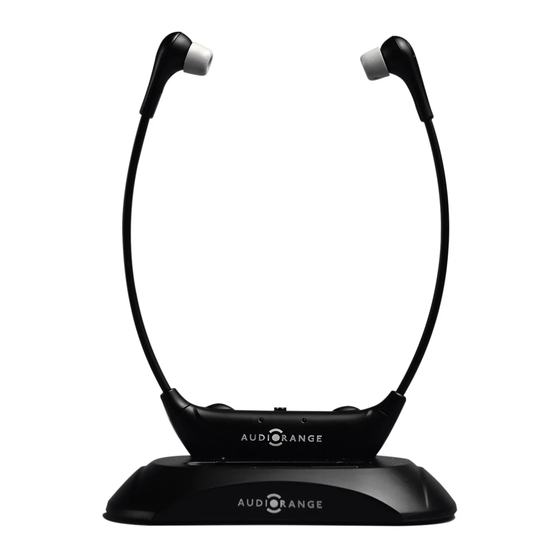
Remove the headphones from the dock. Switch the power to the on
position and confirm there is a blue light on the headset.
What the Lights Means
There are led indicators on the dock and headset. Under normal operation,
a solid blue light will be present on the dock and headset. The system has
additional light indicators. Here's what they mean:
Dock:
Left LED
Flashing Blue
Standby mode.
Solid Blue
Dock is transmitting audio to
headset(s).
Alternating Blue & Red
Standby mode & headsets are
charging.
Headset
Left LED
Solid Red
Microphone is on.
Right LED
Solid Green
Confirms an analog connection from
step 1a.
Right LED
Flashing Blue
No connection to the dock.
Solid Blue
Headset is receiving audio from
the dock.
