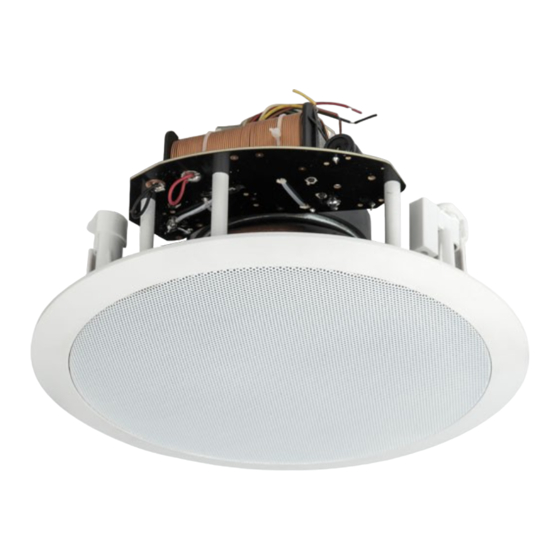
DAPAudio CS-850S Podręcznik - Strona 7
Przeglądaj online lub pobierz pdf Podręcznik dla Głośniki DAPAudio CS-850S. DAPAudio CS-850S 12 stron.

CS-850S
Installation
Before installing the DAP CS-850S, ensure that the chosen location on the ceiling is free of any
obstructions such as pipe work, ducting or wiring. In existing constructions, if no crawlspace is available,
use a stud-finding tool to map the ceiling construction and a pipe detector to scan the installation
location. Avoid mounting the subwoofer in close proximity to in-ceiling lighting. This will help to reduce
unwanted vibrations.
Switch off the electric power in the area where the speaker will be mounted prior to installation!
To install the DAP CS-850S, proceed as follows:
01) Remove the outer ring from the supplied cut out template. The inner ring of the template can be
used to protect the speaker during painting.
02) Use the template to mark a cut line on the ceiling. Make sure the cut line has the correct diameter
(230 mm).
03) Cut along the line with an appropriate tool to create a round hole in the ceiling. The flange of the
speaker will cover any imperfections in the cut.
04) Pull the speaker cable down through the hole. Leave about 1,5 m spare cable to ease the
connection of the speaker.
05) Rotate the mounting clamps (04) on the subwoofer counterclockwise and push them downwards to
release them, as shown on Fig. 02 and 03.
06) Push the quick-turn mounting screws (05) on all 3 mounting clamps (04) towards the back of the
grill (03), as shown on Fig. 04. The grill will come off.
07) Remove the grill (03).
08) Connect the speaker cable to the wire terminals on the speaker. Make sure the speaker connection
polarity is correct. See Speaker Wiring on page 7.
Order code: D6588
Fig. 02
Fig. 04
6
Fig. 03
