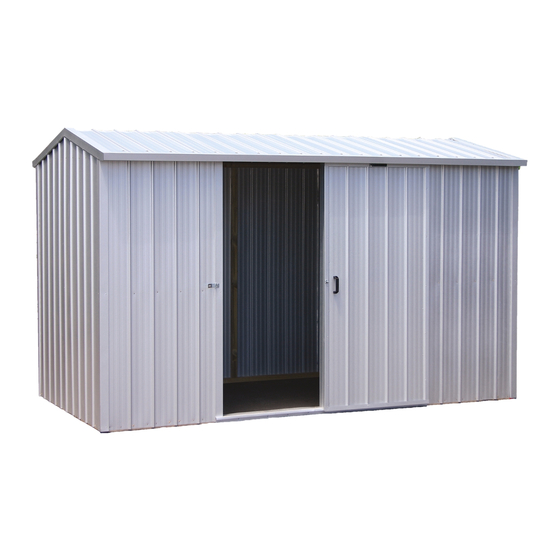
Duratuf KIWI SHEDS MK3 Instrukcja montażu - Strona 11
Przeglądaj online lub pobierz pdf Instrukcja montażu dla Schronienia Duratuf KIWI SHEDS MK3. Duratuf KIWI SHEDS MK3 16 stron. Base size 3380mm x 1715mm

Note:
Condensation can form on the under side of shed roof. If building paper is required, fit now. Building paper will need to be sup-
ported by netting or roofing twine.
Step 1: Check that the diagonal measurements of the shed are the same. If building on unlevel ground it may be necessary to tempo-
rarily brace the shed with pieces of timber from the packaging.
Step 2: Position first Roof Sheet centrally over Ridge
Beam on the right hand end of shed with the
LIP on the left hand side. (For sheds with a
Clear Roof Panel, go to the next page). Posi-
tion the next Roof Sheet. Ensure it overlaps
correctly then rivet together, 400mm down
from the centre on both sides. Fit remaining
Roof Sheets.
Step 3: Starting from the left hand end, centralize Roof on
Ridge Beam. Ensure Roof is tight against end Wall
Sheets, predrill then nail one 50mm Clout through Rib
into the Ridge Beam. At the back, line up Ribs on the
Roof Sheet with the Ribs on Wall Sheet. Using one
50mm Clout, nail through Rib into Back Top Plate.
Repeat at the front.
Note The 6 x 50mm Clouts on end ribs are covered by the
Barge Flashings.
Step 4: Centralize Roof at the other end and nail through Rib
into the Ridge Beam and Top Plates, using 50mm
Clouts. Ensure Ridge Beam is straight, then Screw
one 50mm Roofing Screw into Ridge Beam through
each Rib on overlap (one screw per sheet). At the
back, set up a String Line in centre of Top Plate. En-
sure Top Plate is straight and screw, using one 50mm
Roofing Screw per Rib. Repeat at the front.
MK3 ROOF
11
LIP
LIP
50mm Clout
Roofing screws
