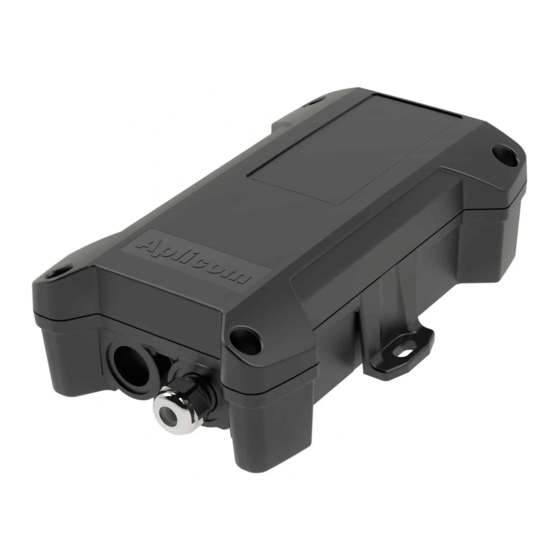
APLICOM A9 IPEX Instrukcja instalacji - Strona 9
Przeglądaj online lub pobierz pdf Instrukcja instalacji dla GPS APLICOM A9 IPEX. APLICOM A9 IPEX 12 stron.

INSTALLATION CHECKLIST
Action/Functionality
DEVICE
The place of installation is safe from accidental knocks.
INSTALLATION
Device is fastened tightly.
CABLES
Cables are led carefully along a well-protected route to the device and the peripherals.
All cables are correctly connected and secured with fuses.
Cables are fastened or supported in such a way that during use they exert no torsion on the
cable glands.
ANTENNAS
A9 IPEX unit is fitted in such a way that its visibility to base stations is as unobstructed as
possible (vehicle roof; as far as possible away from other antennas, flashing lights etc.). A9
IPEX unit is fitted in such a way that its satellite visibility is as unobstructed as possible
(vehicle roof; as far as possible away from other antennas, flashing lights etc.).
Check the A9 IPEX right orientation towards the GPS/GLONASS satellites and correct
fixing place and surface.
POWER ON
Connect PWR and if IGN is used, turn it on.
DEVICE
FINAL CHECK
Before completing the installation work, rigorous checking of any disturbances to vehicle or
machine, where the unit is installed, must be made. Special attention is needed to check
the vehicle safety systems and radio and multimedia equipment functions. This is to avoid
recalls to service because of un-noticed problems.
TROUBLE SHOOTING
Problem
No power
No GPRS connection
No GPS position
Solution
Check that all the cables and fuses are connected.
PWR is connected and IGN is on (if used).
Check that SIM card is inserted.
Check PIN CODE requirements.
Ensure that the top cover of the A9 IPEX has open sky view.
Check interferences from other structures to GPS antenna.
NOTE! Electronic heated or UV-protected windshield may disturb GPS antenna sky view.
If none of the above helps, please contact your equipment dealer for further
assistance.
OK
9
